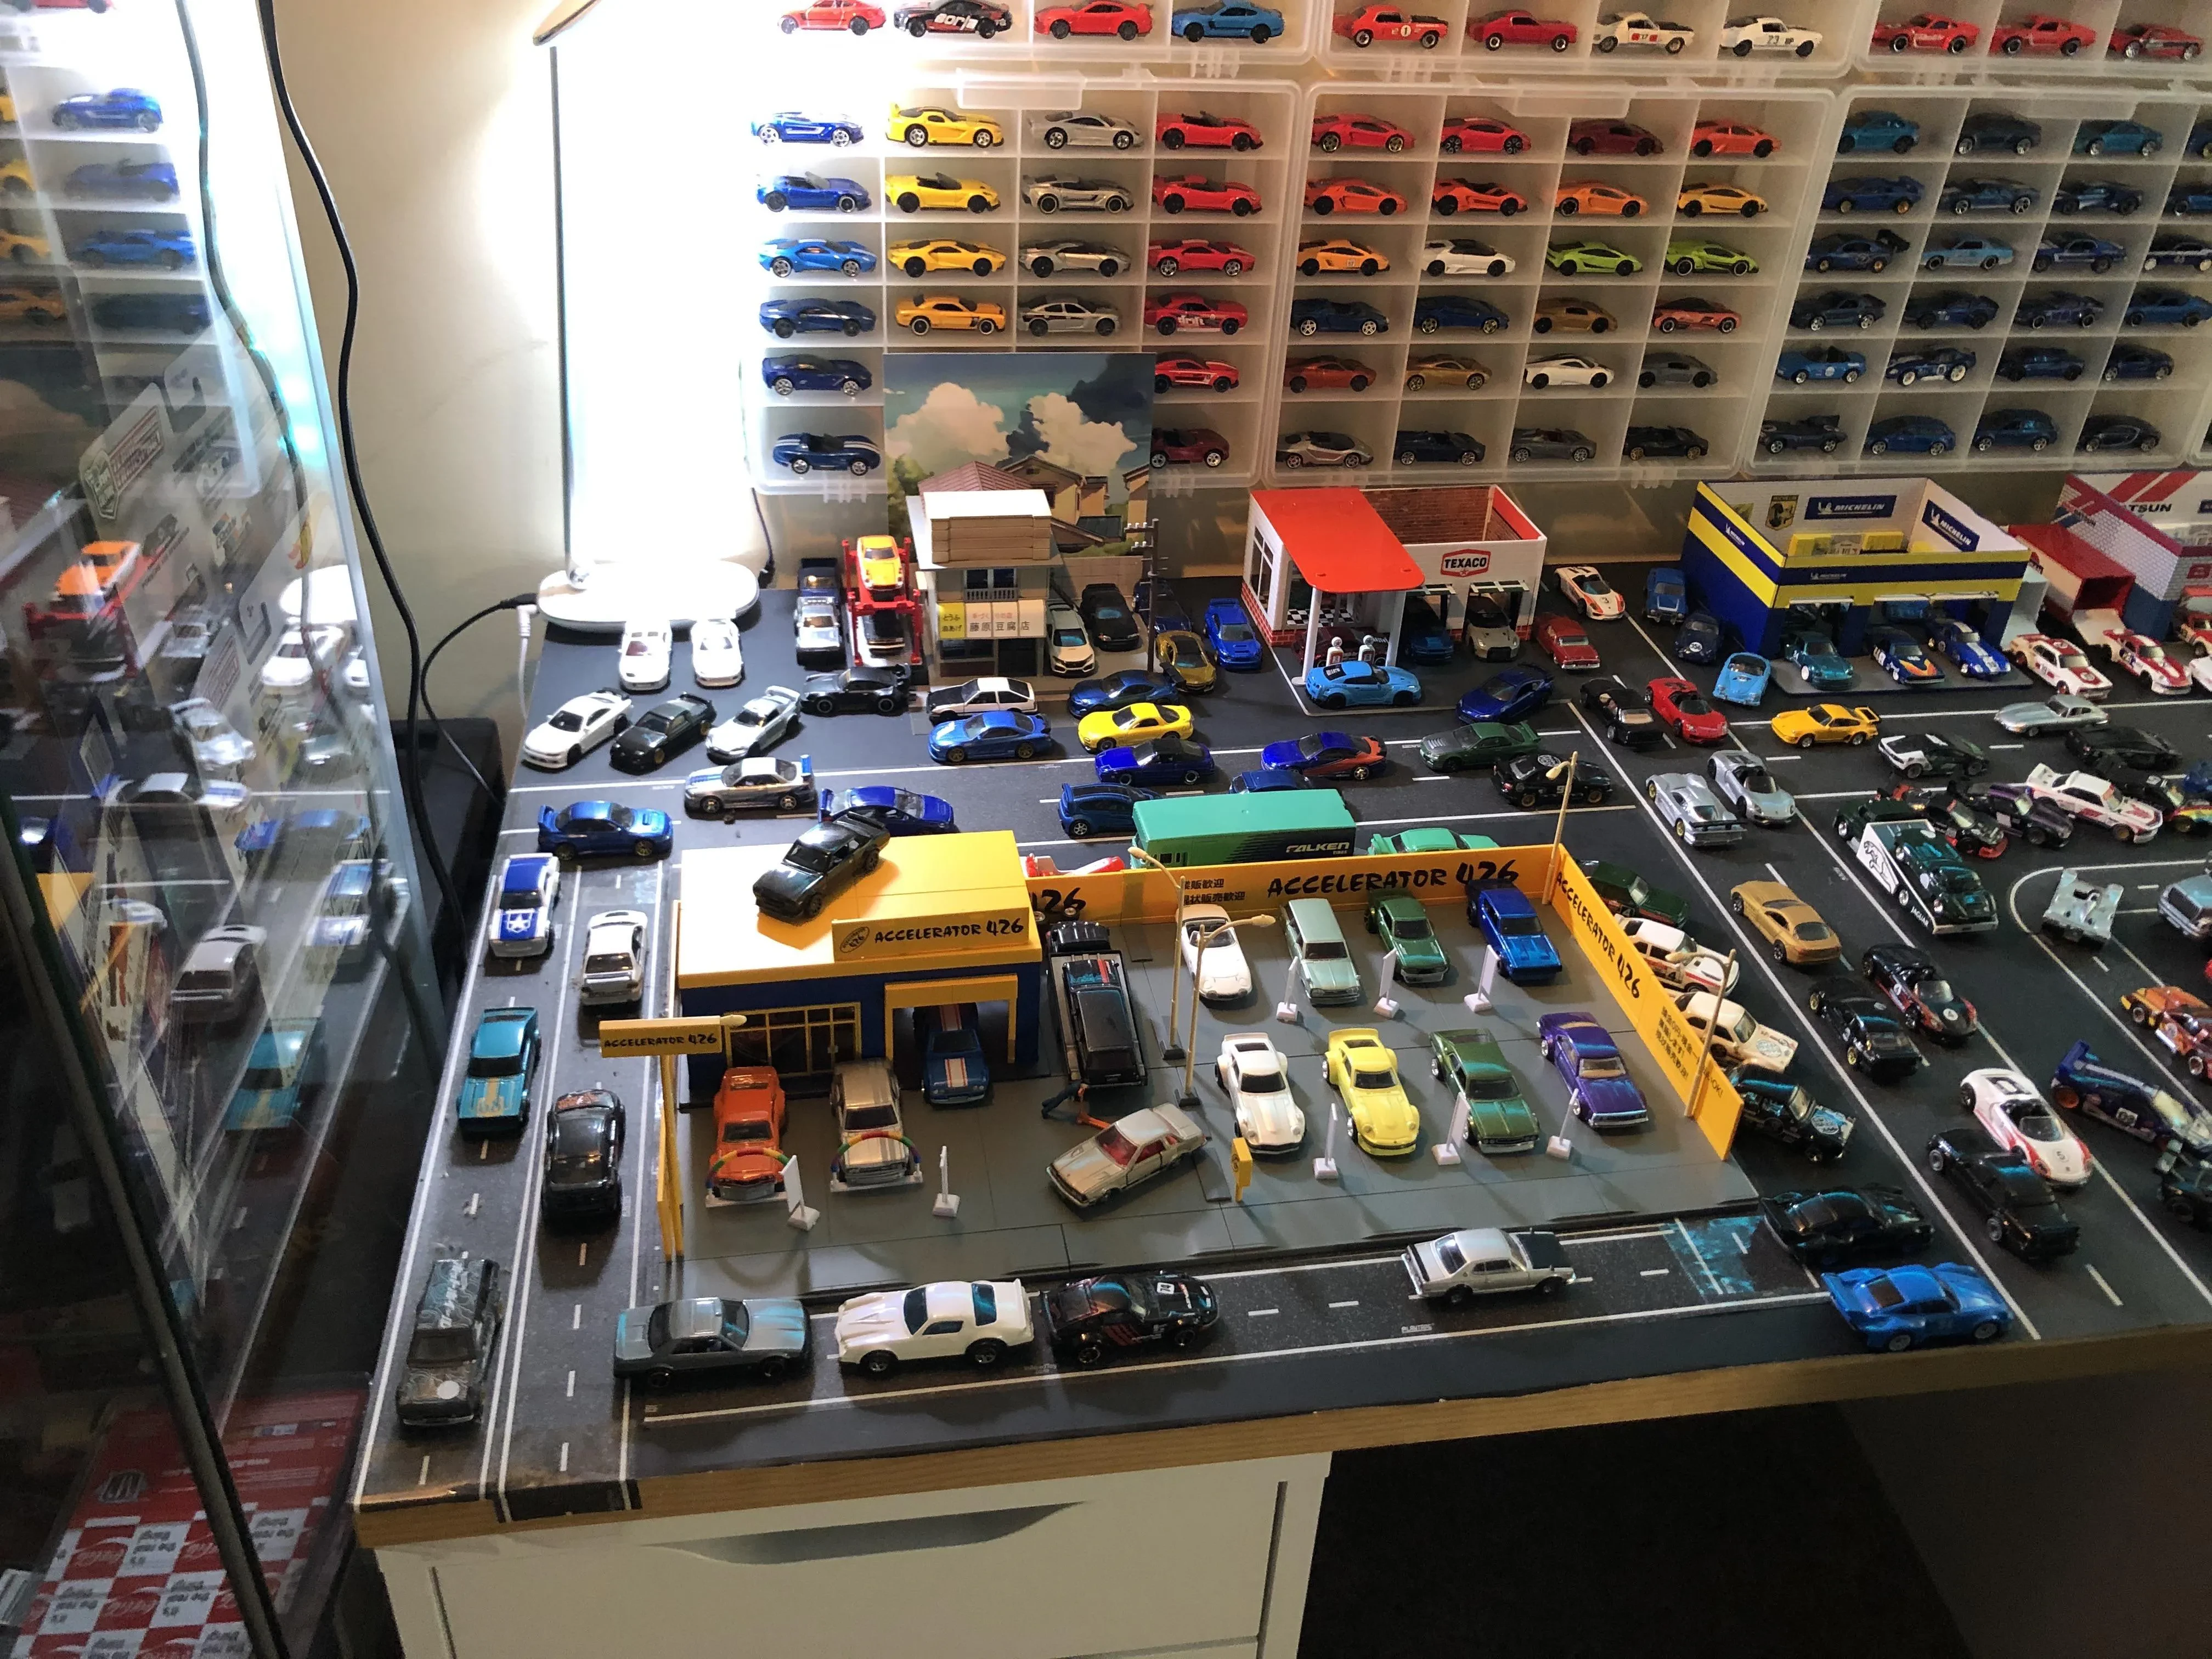
Okay, so you’re bitten by the diecast customizing bug? Awesome! It’s a super rewarding hobby that lets you turn ordinary, mass-produced toy cars into unique works of art. Don’t be intimidated; while some people go crazy detailed, you can start simple and still get amazing results. This guide will walk you through the basics, from gathering your tools to putting the final touches on your miniature masterpiece. Let’s dive in!
Gathering Your Supplies: The Essentials
Before you can even think about chopping and changing, you need the right tools. Think of it like any other project; having the right equipment makes everything easier and gives you better results. Here’s a rundown of the essentials:
- Screwdriver (various sizes, especially small ones for diecast screws)
- Drill or Dremel tool with cutting and grinding attachments
- Sandpaper (various grits, from coarse to fine)
- Primer (automotive or hobby grade)
- Paint (spray paint, acrylics, or airbrush paint – your choice!)
- Clear coat (to protect your paint job)
- Masking tape
- Hobby knife or scalpel
- Super glue or epoxy
- Body filler (for filling in imperfections)
- Decals (optional, for adding details)
Don’t feel like you need to buy everything at once. Start with the basics and build your collection as you go. A lot of this stuff you might already have lying around the house! Just make sure you get good quality primer, paint, and clear coat – they make a HUGE difference in the final look.

Disassembly: Taking it Apart
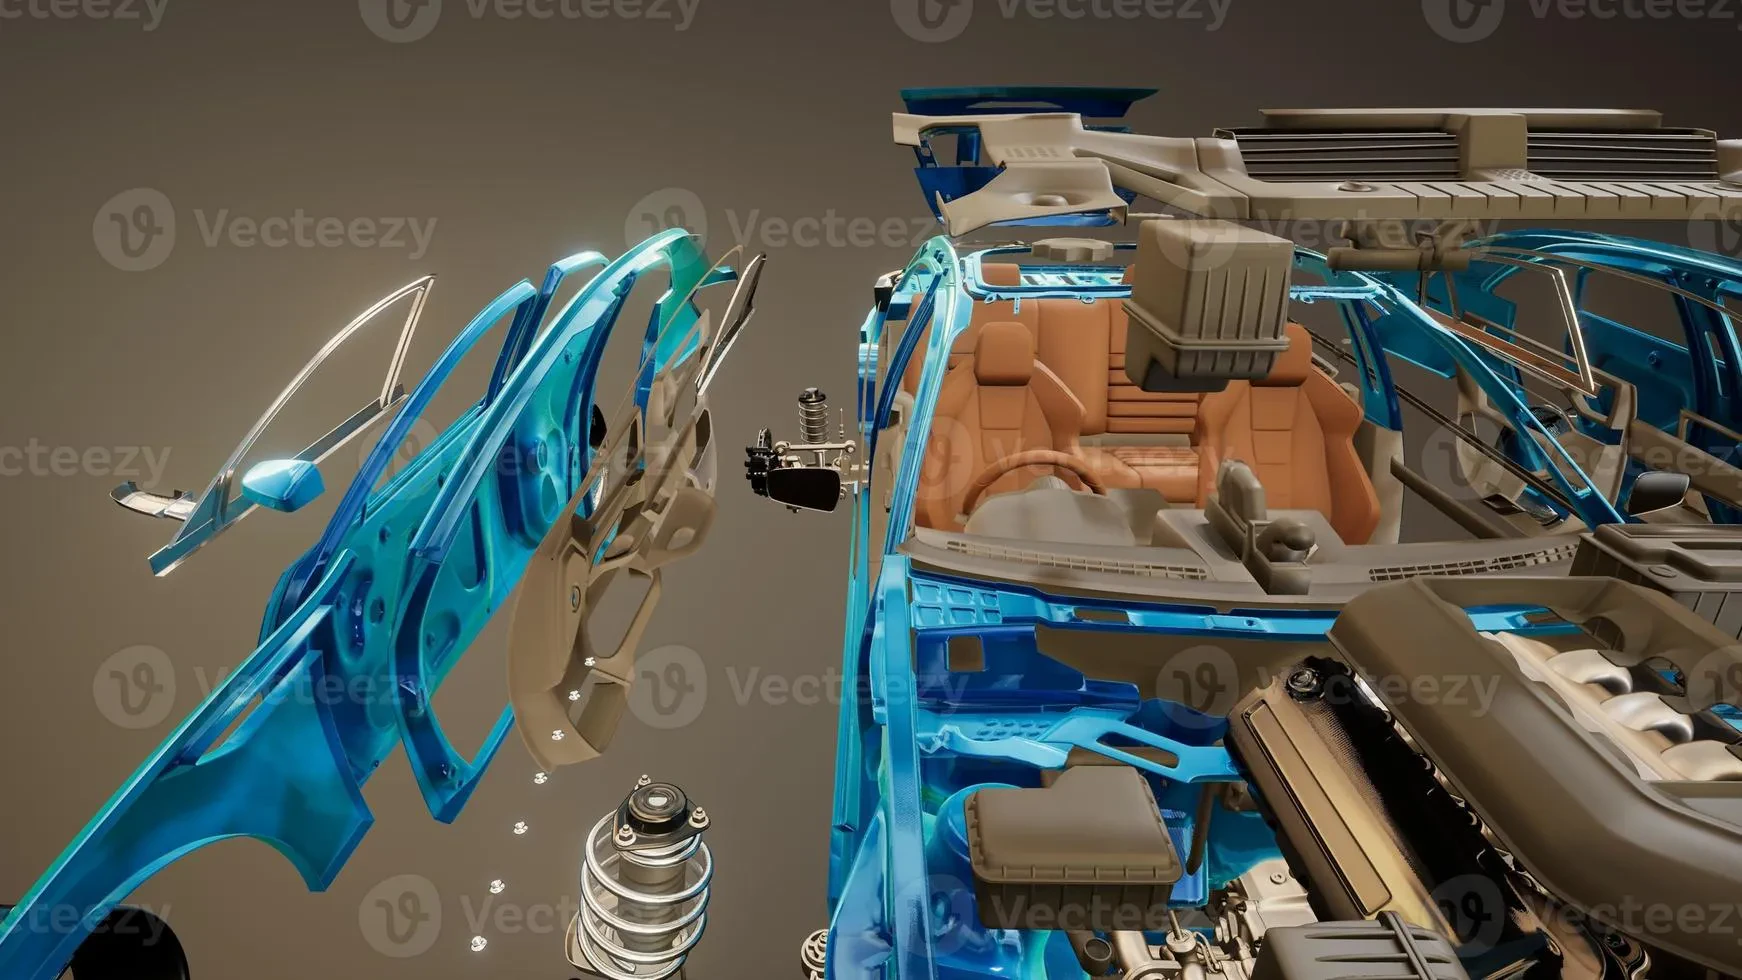
The first step is to carefully disassemble your diecast car. Most diecast cars are held together with screws, but some might use rivets or plastic clips. Locate the screws (usually on the underside of the car) and carefully remove them. Keep track of where each screw goes, as they might be different sizes.
If your car has rivets, you’ll need to drill them out. Use a drill bit that’s slightly larger than the rivet head. Be careful not to damage the surrounding metal. Once the rivets are removed, the car should come apart easily. If it doesn’t, check for any hidden screws or clips.
Once the car is disassembled, separate all the parts and clean them thoroughly. Use soap and water to remove any dirt or grease. This will help the primer and paint adhere properly.

Modifications: Chopping, Cutting, and Shaping
This is where the real fun begins! Now you can start modifying the body of the car. This might involve cutting out sections, adding body kits, or reshaping existing panels. Use a Dremel tool or hobby knife to make your cuts. Be careful and take your time – it’s better to cut too little than too much.
If you’re adding body kits, use super glue or epoxy to attach them to the body. Make sure the parts are properly aligned before the glue dries. Once the glue is dry, use body filler to fill in any gaps or imperfections. Sand the filler smooth to create a seamless transition between the body kit and the original body.
For reshaping panels, you can use a variety of techniques, such as hammering, bending, or welding. If you’re not comfortable with these techniques, it’s best to stick to simpler modifications. Remember safety first! Always wear eye protection when using power tools or working with metal.

Painting: Bringing it to Life
Painting is a crucial step in the customizing process. It’s what gives your car its unique look and personality. Before you start painting, make sure the body is clean and smooth. Sand the entire surface with fine-grit sandpaper to create a good surface for the primer to adhere to.
Apply a thin coat of primer to the body. Primer helps the paint adhere better and provides a uniform base color. Let the primer dry completely before moving on to the next step. Once the primer is dry, you can start applying your base coat of paint. Use multiple thin coats instead of one thick coat to avoid runs and drips.
After the base coat is dry, you can add details such as racing stripes, flames, or custom graphics. Use masking tape to create clean lines and protect areas you don’t want to paint. Once all the paint is dry, apply several coats of clear coat to protect the paint and give it a glossy finish.
Let the clear coat dry completely before handling the car. It can take several days for the clear coat to fully cure.

Reassembly and Final Touches
Once the paint is dry, you can start reassembling the car. Carefully put all the parts back together in the reverse order of disassembly. Make sure all the screws are tightened securely. If you drilled out any rivets, you’ll need to replace them with screws or epoxy.
Add any finishing touches, such as decals, custom wheels, or interior details. Decals can be applied using water and a soft cloth. Custom wheels can be purchased online or at hobby shops. Interior details can be added using paint, fabric, or plastic parts.
Finally, give your customized diecast car a final polish and admire your work! You’ve turned a mass-produced toy into a unique piece of art. Now go show it off!

Tips and Tricks for Success
Here are a few extra tips to help you on your diecast customizing journey:
- Practice on inexpensive cars before tackling more valuable ones.
- Take your time and don’t rush the process.
- Experiment with different techniques and materials.
- Join online forums and communities to learn from other customizers.
- Don’t be afraid to make mistakes – it’s all part of the learning process!
- Always wear safety glasses when using power tools.
Customizing diecast cars is a fun and rewarding hobby that can provide hours of enjoyment. With a little practice and patience, you can create amazing works of art that reflect your personal style. So grab some tools, pick a car, and get customizing!
