Why Paint Diecast Aluminum?
Diecast aluminum models often come in a limited range of colors. Painting allows you to customize them, creating unique pieces that reflect your personal style or a specific historical period or fictional character. It’s also a great way to restore faded or damaged models, bringing them back to their former glory.
Getting Started: Essential Supplies
- High-quality acrylic paints
- Primer specifically designed for metal
- Fine-grit sandpaper (e.g., 400, 600, and 1000 grit)
- Tack cloth
- Several brushes in various sizes (synthetic is usually best for acrylics)
- Masking tape (if needed)
- Gloves
- Paint thinner or cleaner (check the specific requirements for your paints)
- Ventilation
- Work area that can be easily cleaned

Preparation is Key: Cleaning and Sanding
Before you even think about applying paint, thorough preparation is vital. Start by carefully cleaning your diecast model with warm soapy water. This removes any grease, grime, or fingerprints that could affect paint adhesion. Let it completely dry before moving on.
Next, lightly sand the model with fine-grit sandpaper. This helps create a better surface for the primer to adhere to. Focus on any rough spots or imperfections. Don’t go overboard; you’re not trying to remove significant amounts of metal, just to gently scuff the surface.

Priming for Perfection
Applying a primer is essential, especially on diecast aluminum. It provides a consistent base for the paint to adhere to, prevents the aluminum from affecting the color, and helps to create a smoother finish. Use a high-quality metal primer and apply thin, even coats, allowing each coat to fully dry before applying the next. Two coats are usually sufficient.

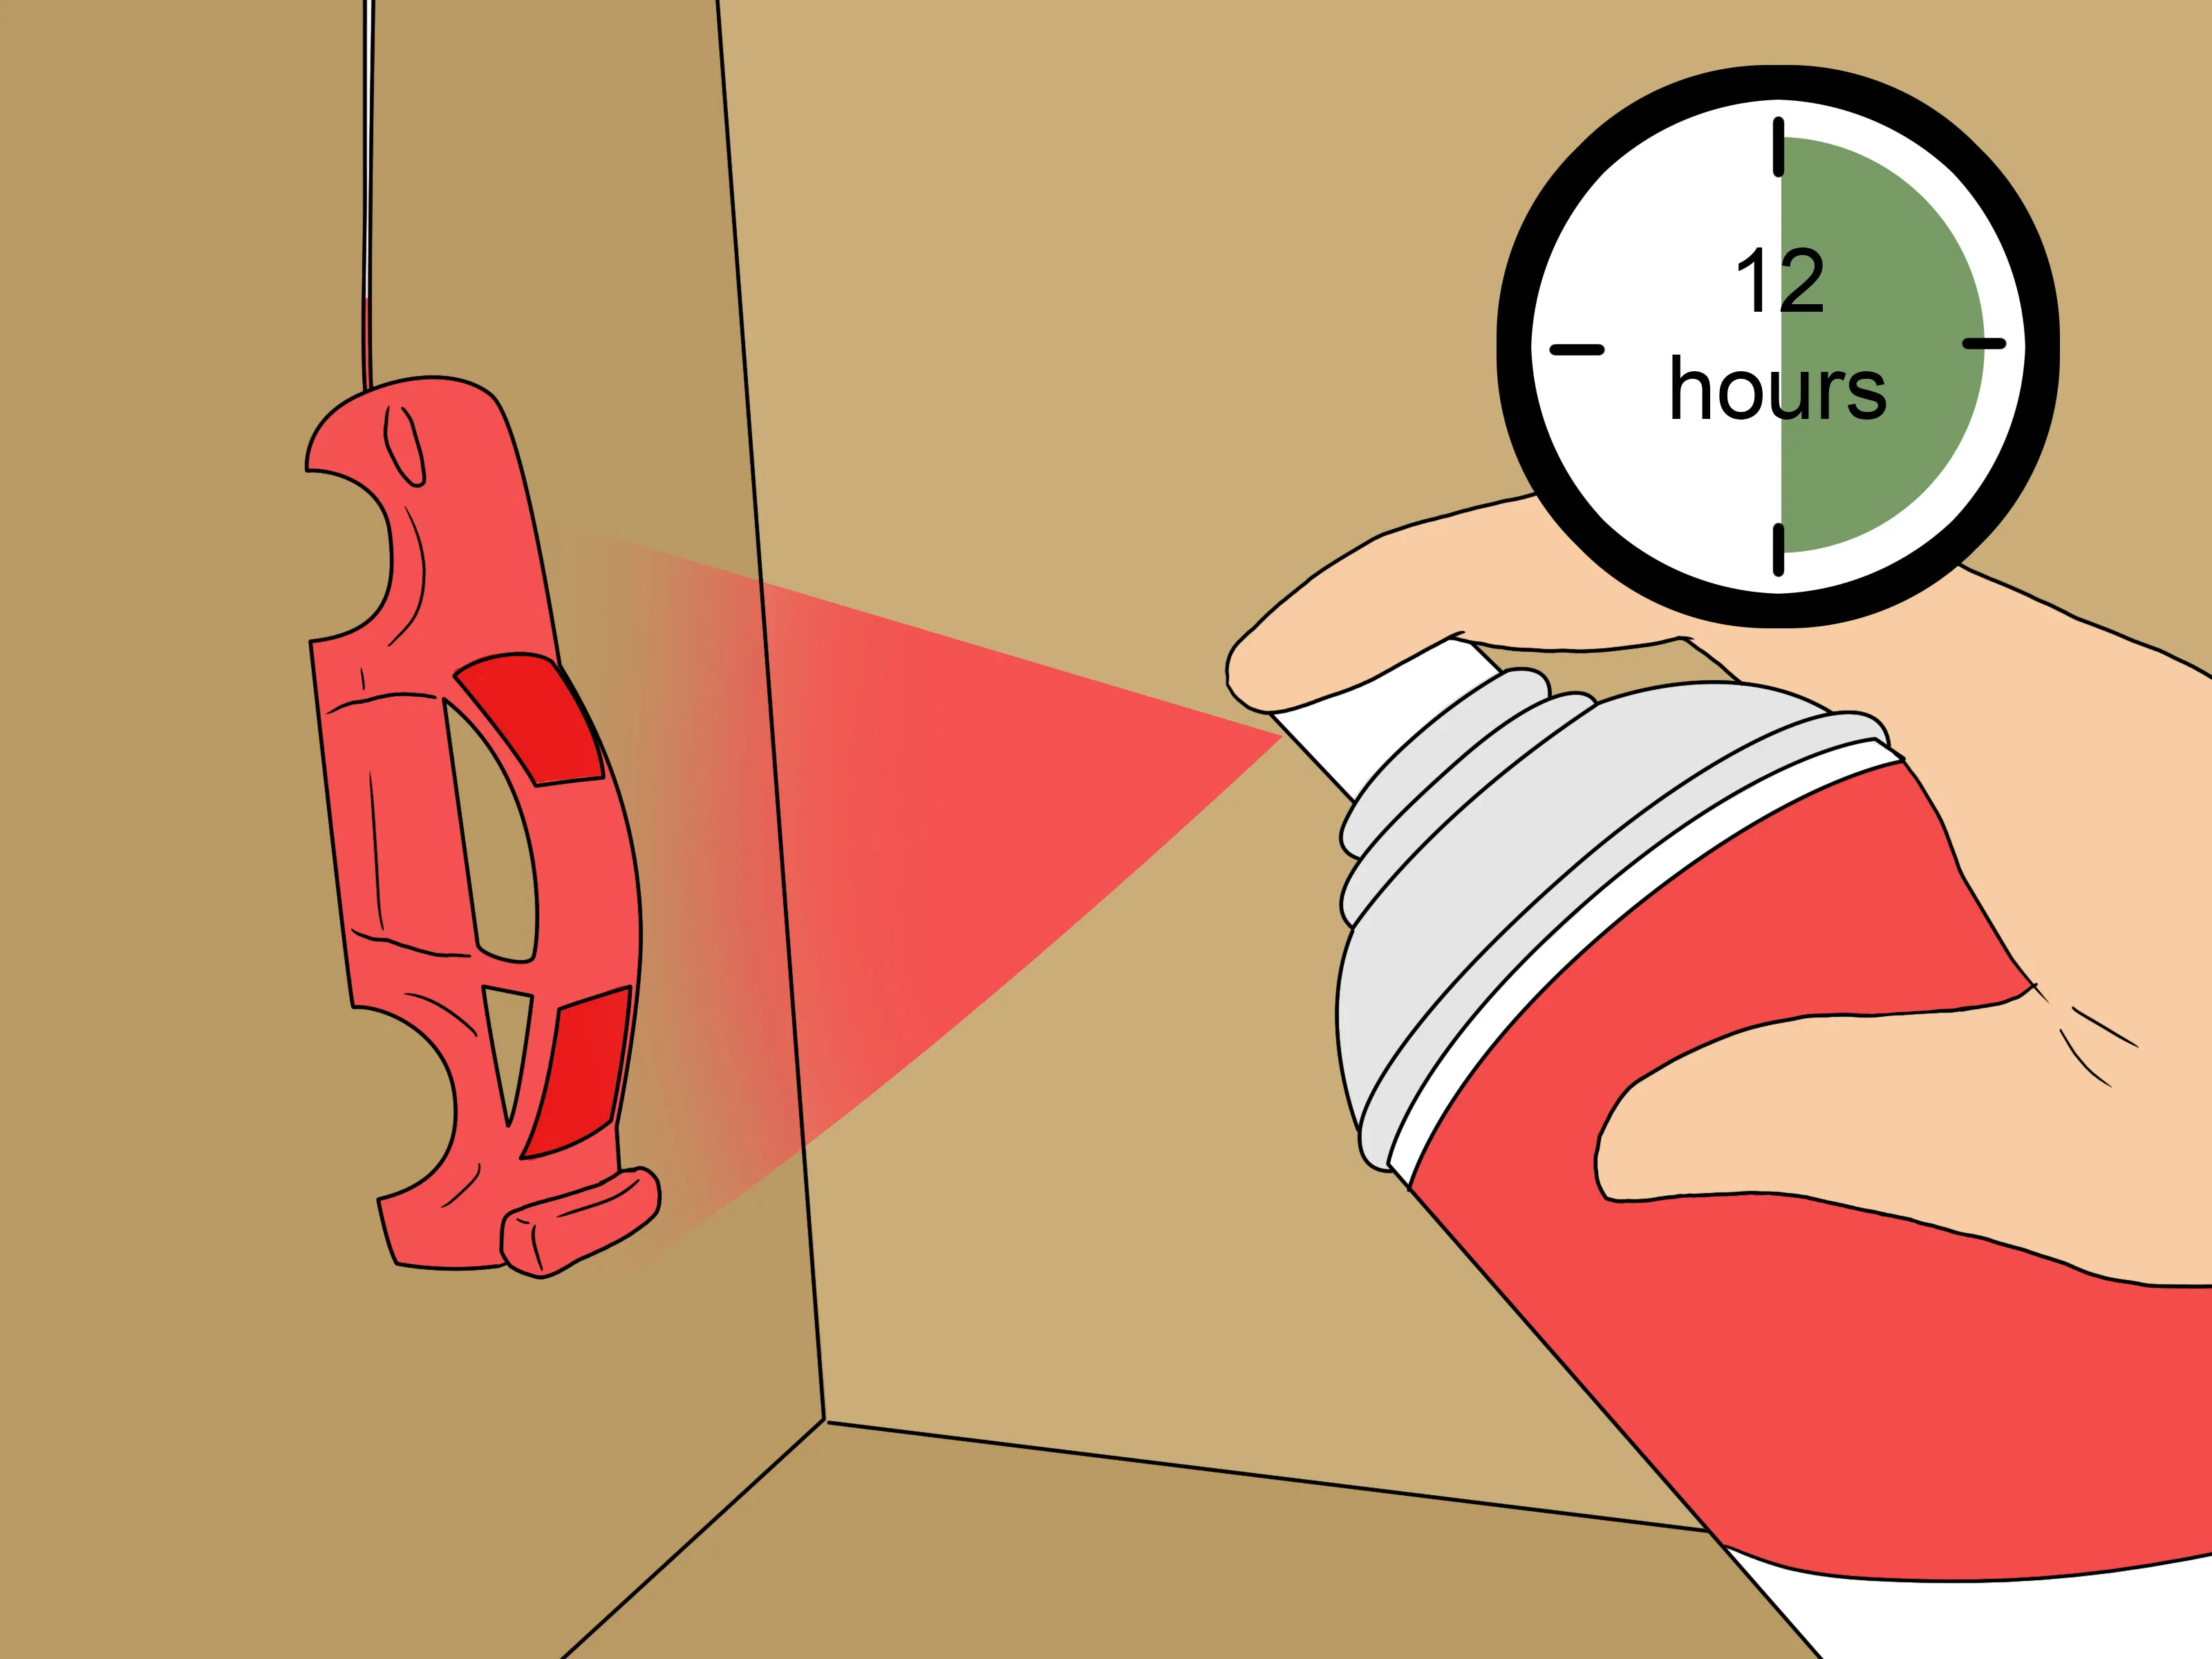
Painting: Thin Coats are Best
Now for the fun part! Apply your chosen acrylic paints in thin, even coats. It’s much better to apply several thin coats than one thick coat. Thick coats are more prone to runs and drips. Let each coat dry thoroughly before applying the next. Consider using several thinner coats for better results.
If you are working with multiple colors, masking tape can be your best friend. Carefully apply it to protect areas you don’t want painted. Be sure to use gentle pressure to avoid damaging the previously painted layers.

Finishing Touches: Sealing and Detailing
Once your paint is completely dry, apply a sealant to protect your work. This will prevent the paint from chipping or scratching. Let the sealant dry completely, just like the previous paint coats.
Finally, add any detailing you desire. This could involve using washes, dry brushing, or even applying decals. Let your creativity run wild!

Troubleshooting Common Issues
If you encounter issues like paint runs or drips, don’t panic! Try sanding the affected areas gently with very fine-grit sandpaper once the paint is completely dry and reapply a thin coat of paint. For any surface imperfections, you may want to do further sanding before priming and repainting.
Remember patience is key. Take your time, allow each coat of paint and sealant to dry completely, and don’t rush the process. With careful preparation and attention to detail, you’ll achieve a stunning result.