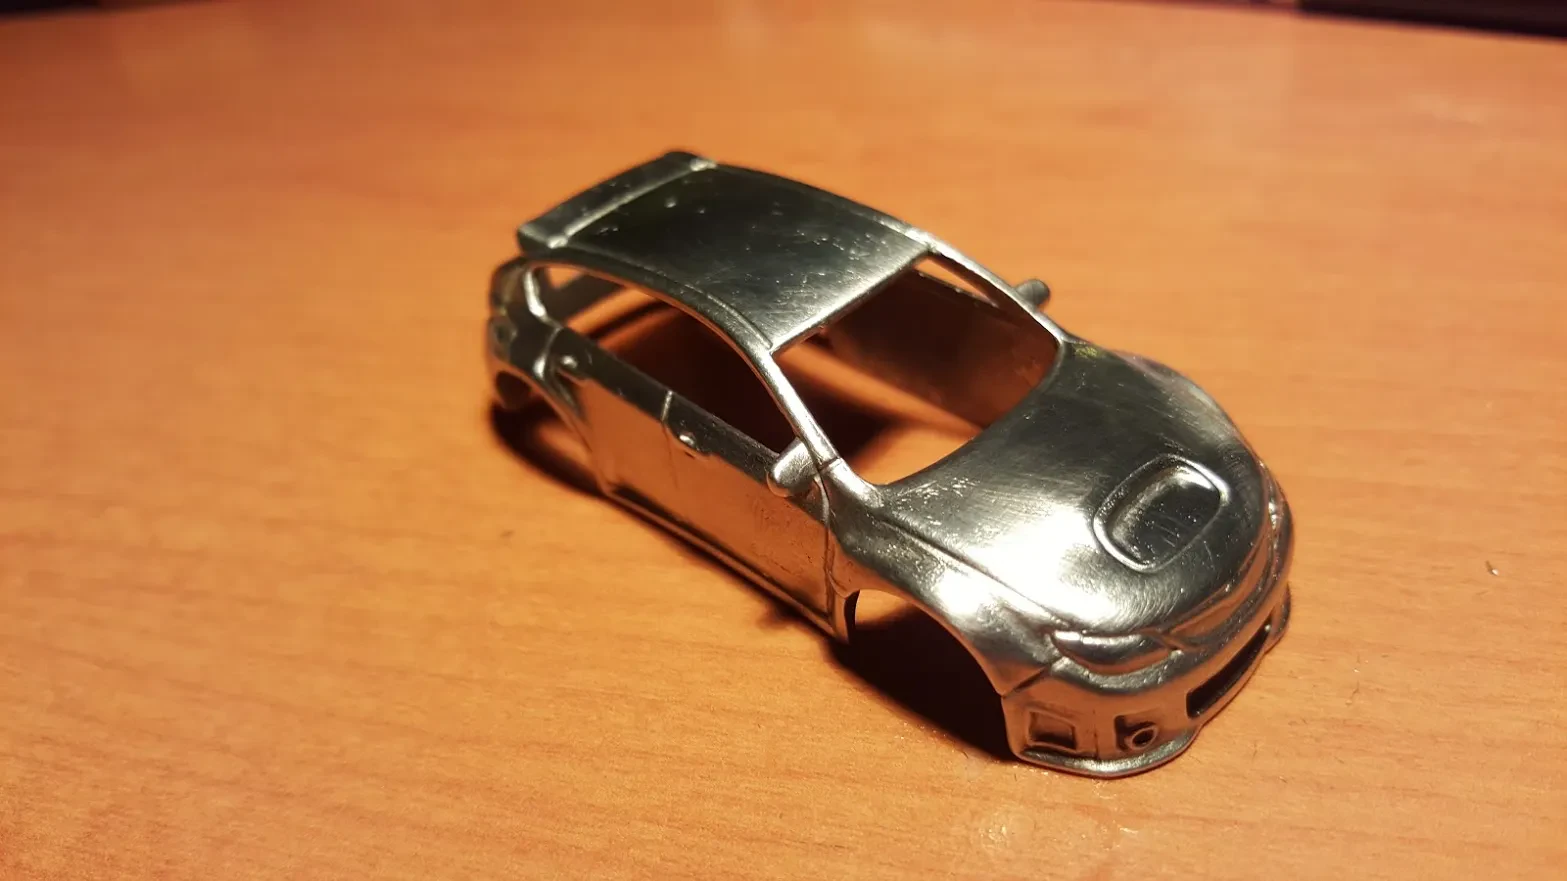
So, you’ve got a sweet collection of diecast cars, right? Maybe they’re pristine, maybe they’ve seen better days. Either way, giving them a good polish can make a huge difference. It’s not just about making them look better – it’s about preserving them for years to come. This guide will walk you through the entire process, from gentle cleaning to a dazzling finish.
Gathering Your Supplies
Before you dive in, make sure you have the right tools. This isn’t rocket science, but having the right stuff will make the job much easier and more effective.
- Microfiber cloths (several, in different sizes)
- Soft-bristled brush (an old toothbrush works great)
- Mild dish soap
- Distilled water
- Automotive detailing clay (optional, but recommended for stubborn dirt)
- Car wax or polish (specifically designed for automotive finishes)
- Cotton swabs (for hard-to-reach spots)
Step 1: The Gentle Wash
Start by giving your diecast car a gentle wash. Fill a bowl with lukewarm water and a drop or two of mild dish soap. Dip your soft-bristled brush into the soapy water and gently scrub the car, paying attention to crevices and hard-to-reach areas. Avoid using harsh chemicals or abrasive cleaners, as these can damage the paint.
Rinse the car thoroughly under lukewarm running water. Make sure all the soap is completely removed. Gently pat it dry with a clean microfiber cloth. Don’t rub vigorously, as this could scratch the paint.
Step 2: Clay Bar Magic (Optional)
If your car has stubborn dirt or grime that the wash didn’t remove, now is the time to use detailing clay. Knead the clay to soften it, then lubricate the car’s surface with a detailing spray or water. Gently glide the clay across the surface, working in small sections. This will remove embedded contaminants.
Remember to fold the clay frequently to expose a clean surface. Once you’re finished, wipe the surface clean with a fresh microfiber cloth.
Step 3: The Polish
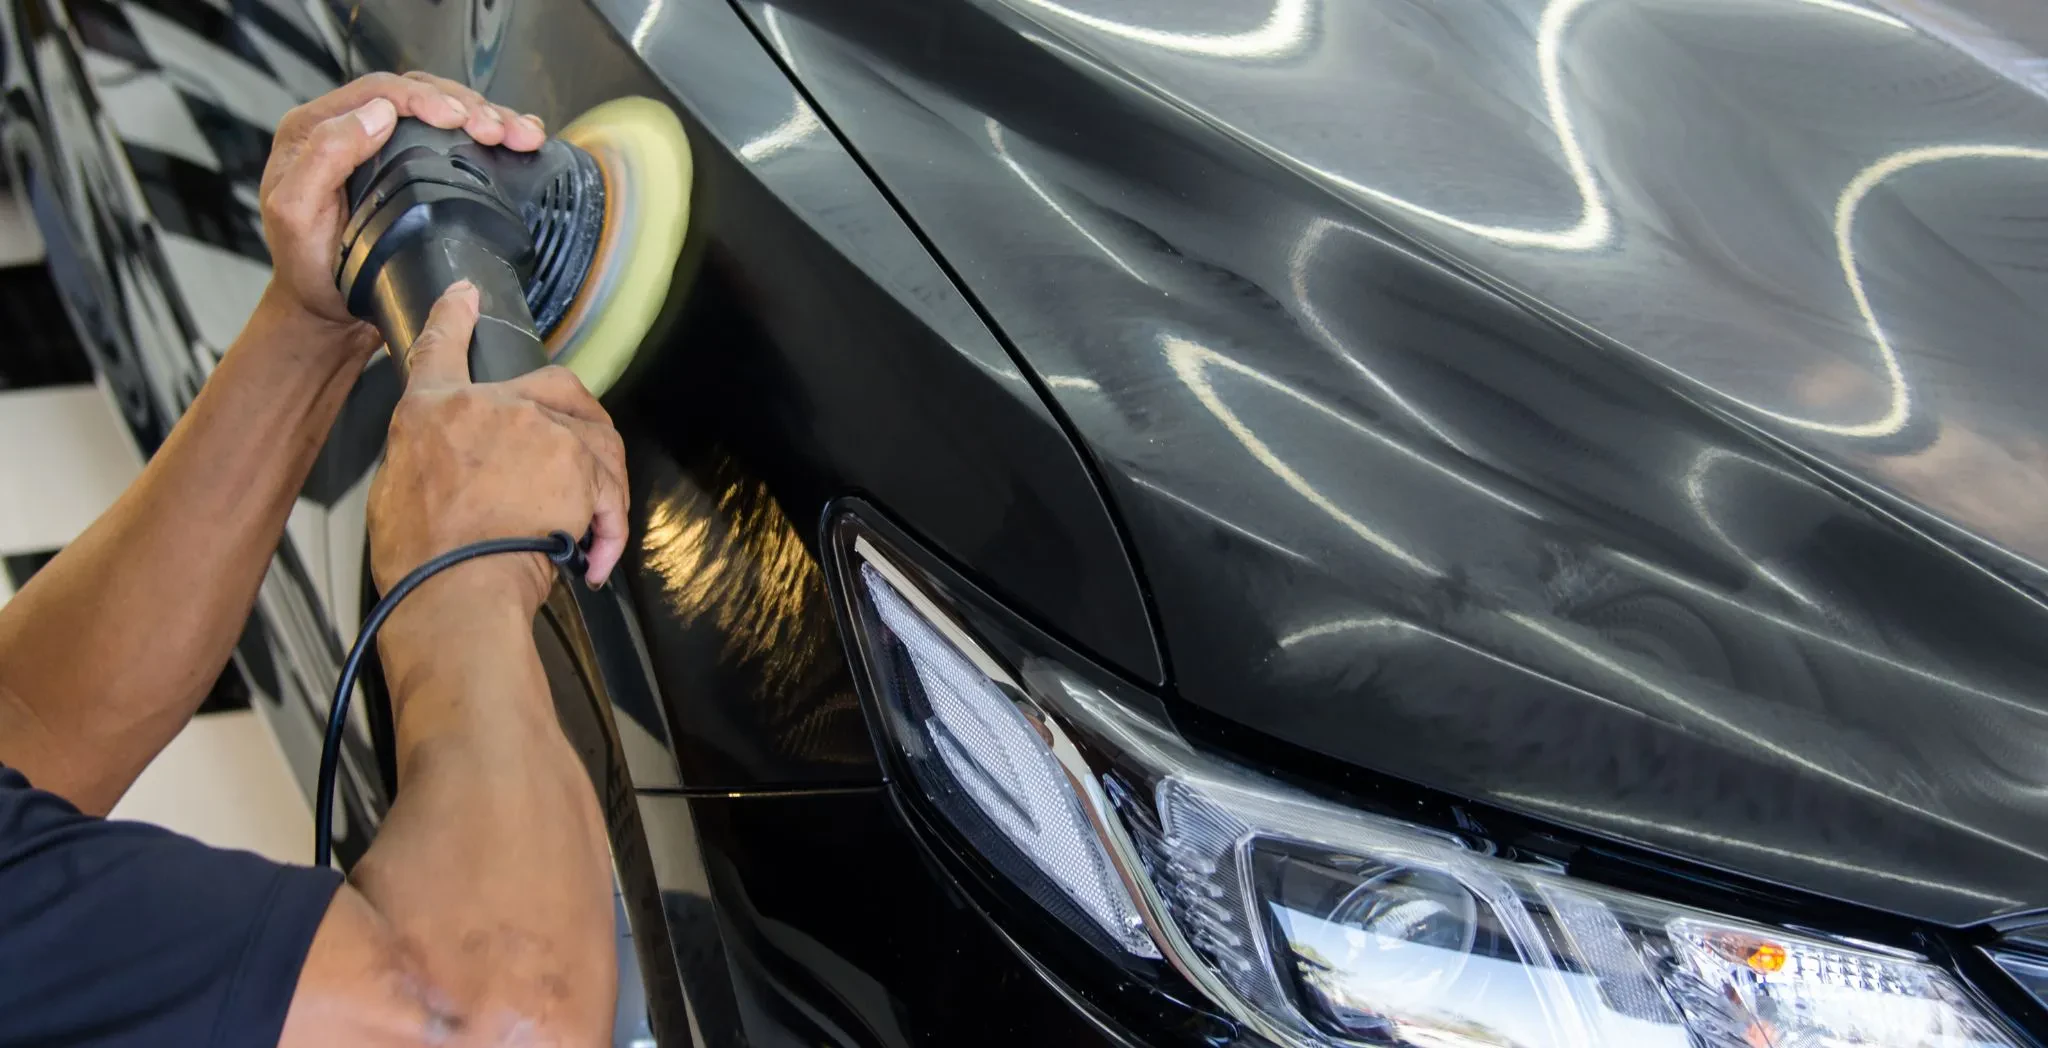
Now for the fun part! Apply a small amount of car wax or polish to a clean microfiber cloth. Work in small sections, applying the polish using gentle, circular motions. Let the polish haze slightly before buffing it off with a clean, dry microfiber cloth.

Take your time and be patient. A little bit of elbow grease goes a long way!
Step 4: Final Touches
Once you’ve polished the entire car, inspect it carefully for any missed spots. Use cotton swabs to clean hard-to-reach areas. Admire your handiwork!
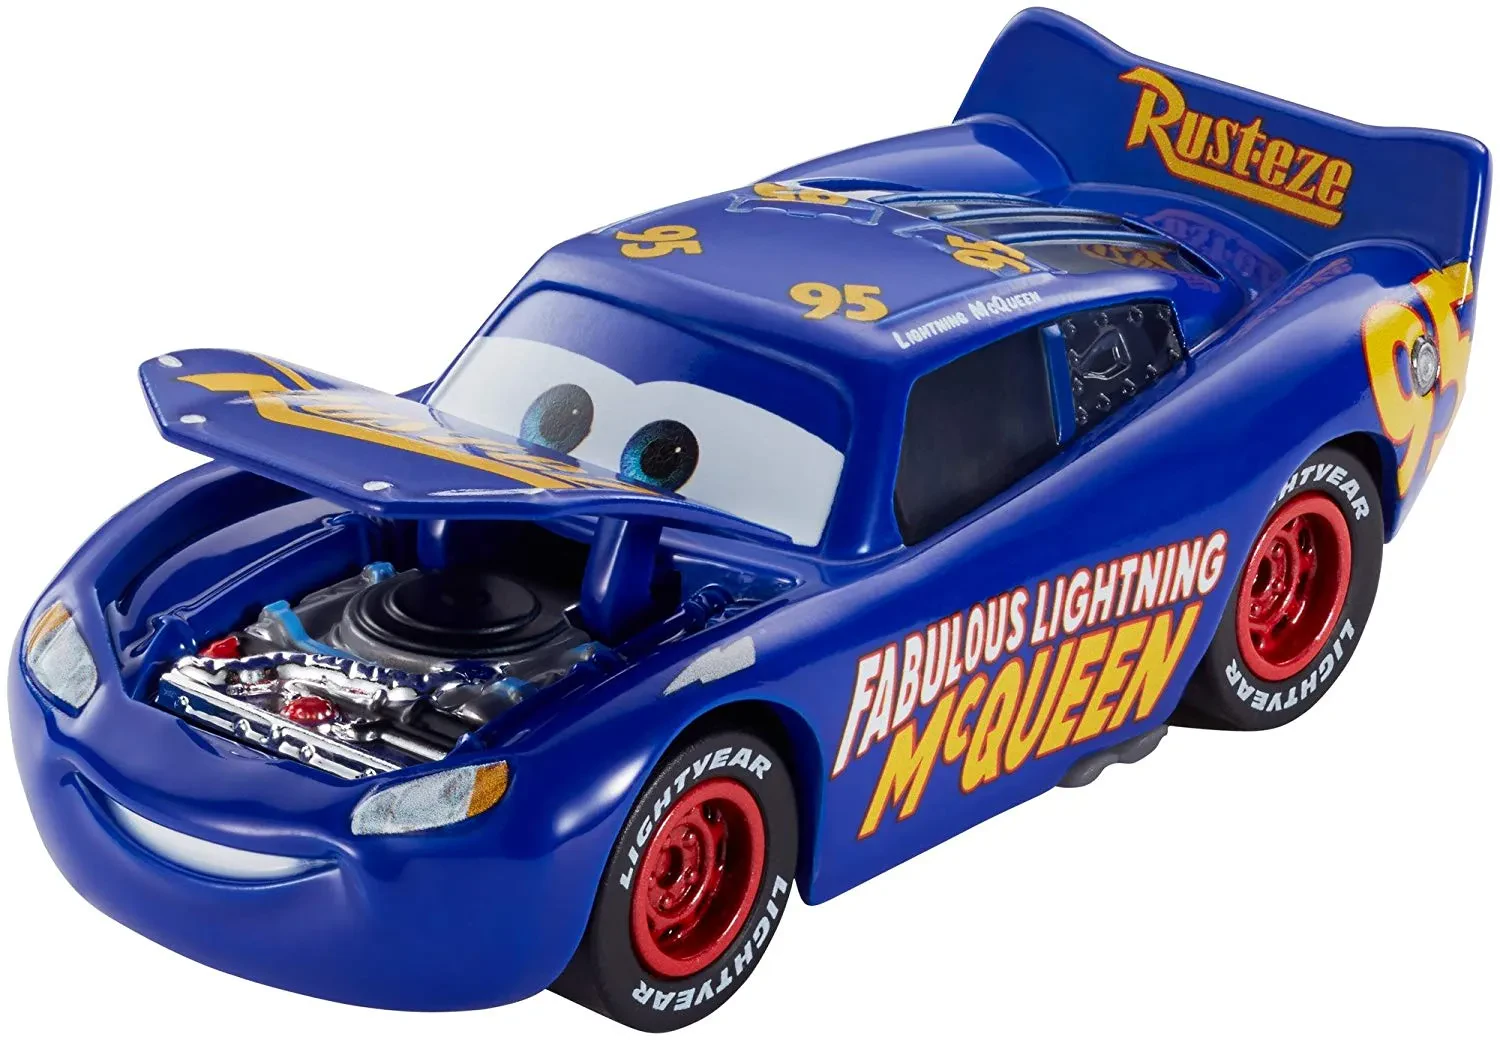
And there you have it! Your diecast cars are now gleaming like new. Remember to store them properly to keep them looking their best. A dust-free display case is always a good idea.
Happy polishing!
