So, you’ve got a box of diecast cars gathering dust in the attic, or maybe a prized possession that’s seen better days? Don’t worry, bringing them back to life is totally achievable! This guide will walk you through restoring your diecast models, transforming them from dusty relics to gleaming showpieces.
Assessing the Damage
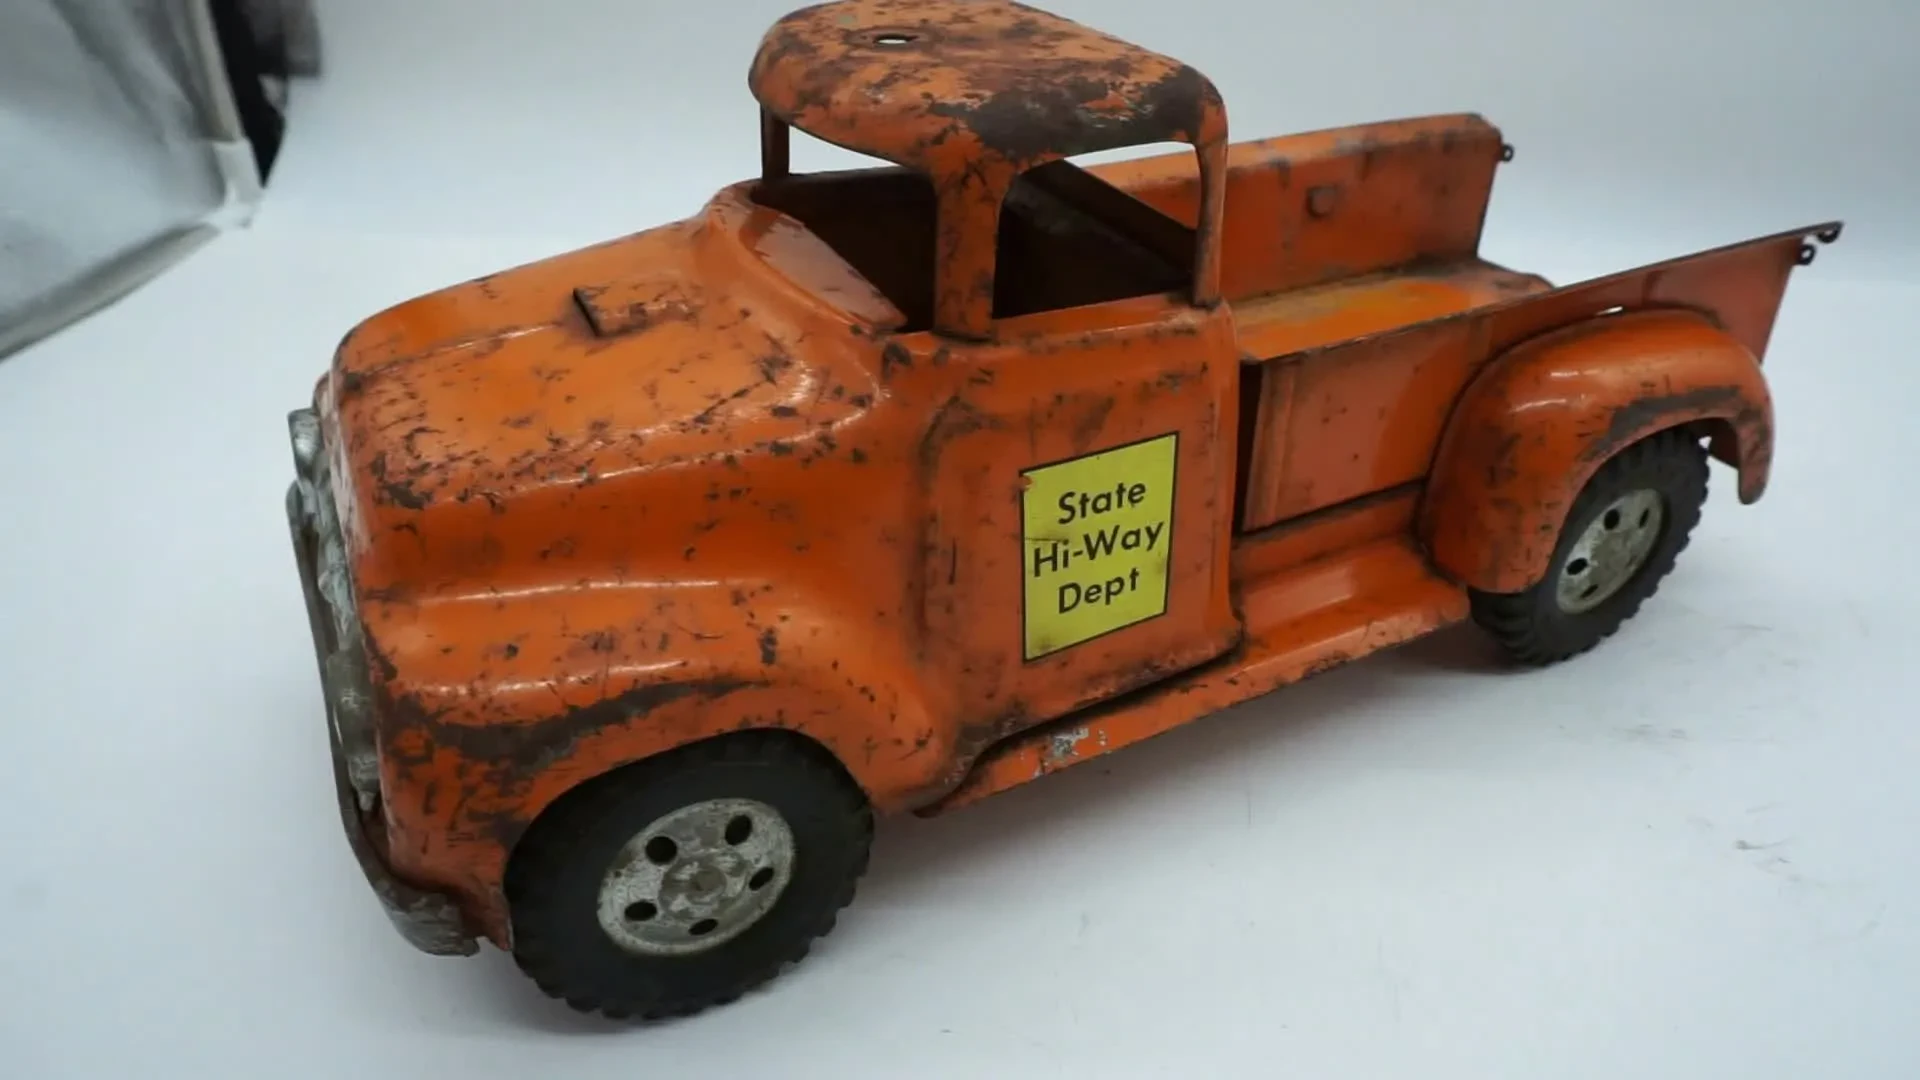
Before you jump into cleaning and repairs, take a good look at your diecast. What kind of damage are we dealing with? Is it just a bit dusty, or are there scratches, dents, missing parts, or paint damage? Knowing the extent of the damage will help you plan your restoration strategy.

Gathering Your Supplies
You won’t need a whole workshop, but a few key supplies will make the job much easier. Let’s go over what you’ll need:
- Soft cloths (microfiber is ideal)
- Mild dish soap
- Warm water
- Toothbrush (soft-bristled)
- Cotton swabs
- Isopropyl alcohol (rubbing alcohol)
- Touch-up paint (optional, matching the model’s color)
- Small paintbrush
- Clear coat (optional)
- Super glue (for small repairs)
- Replacement parts (if needed, check online marketplaces)

Cleaning Your Diecast
Start by gently wiping down the diecast with a soft cloth to remove loose dust and dirt. Then, mix a small amount of mild dish soap with warm water. Dip a soft cloth or toothbrush into the solution and gently scrub the diecast, paying attention to crevices and hard-to-reach areas. Rinse thoroughly with clean water and dry completely with a soft cloth. For stubborn dirt, you can use isopropyl alcohol on a cotton swab to gently clean specific spots.

Addressing Scratches and Dents
Minor scratches can sometimes be buffed out with a very fine polishing compound, but be cautious and test in an inconspicuous area first. For deeper scratches or dents, touch-up paint might be necessary. Apply a small amount of paint with a fine brush, letting it dry completely before applying a clear coat for protection. Remember, less is more with touch-up paint – it’s better to apply multiple thin coats than one thick coat which may chip or look uneven.

Repairing Broken Parts
If parts are broken, super glue can work wonders for small pieces. Clean the broken surfaces thoroughly before applying the glue, ensuring a tight fit. Use clamps if necessary to keep the pieces together while the glue dries. For larger or more complex repairs, you may need to consider replacement parts.

Protecting Your Restored Diecast
Once your diecast is clean and repaired, consider applying a clear coat to protect the paint and your hard work. This adds a layer of durability, helping to prevent future damage. Always follow the instructions on your chosen clear coat product. Remember to display your restored treasure in a dust-free environment, ideally in a protective display case.

Restoring diecast models can be a rewarding hobby. It combines patience, precision, and a love for these miniature vehicles. With a little care and attention, you can give your diecast cars a new lease on life and enjoy them for years to come. So, grab your supplies and start restoring! Happy collecting!