Diecast model kits are a fantastic way to combine your love for cars, planes, or other vehicles with the satisfaction of building something with your own two hands. Whether you’re a seasoned model builder or a complete beginner, there’s a diecast kit waiting to be assembled and proudly displayed.
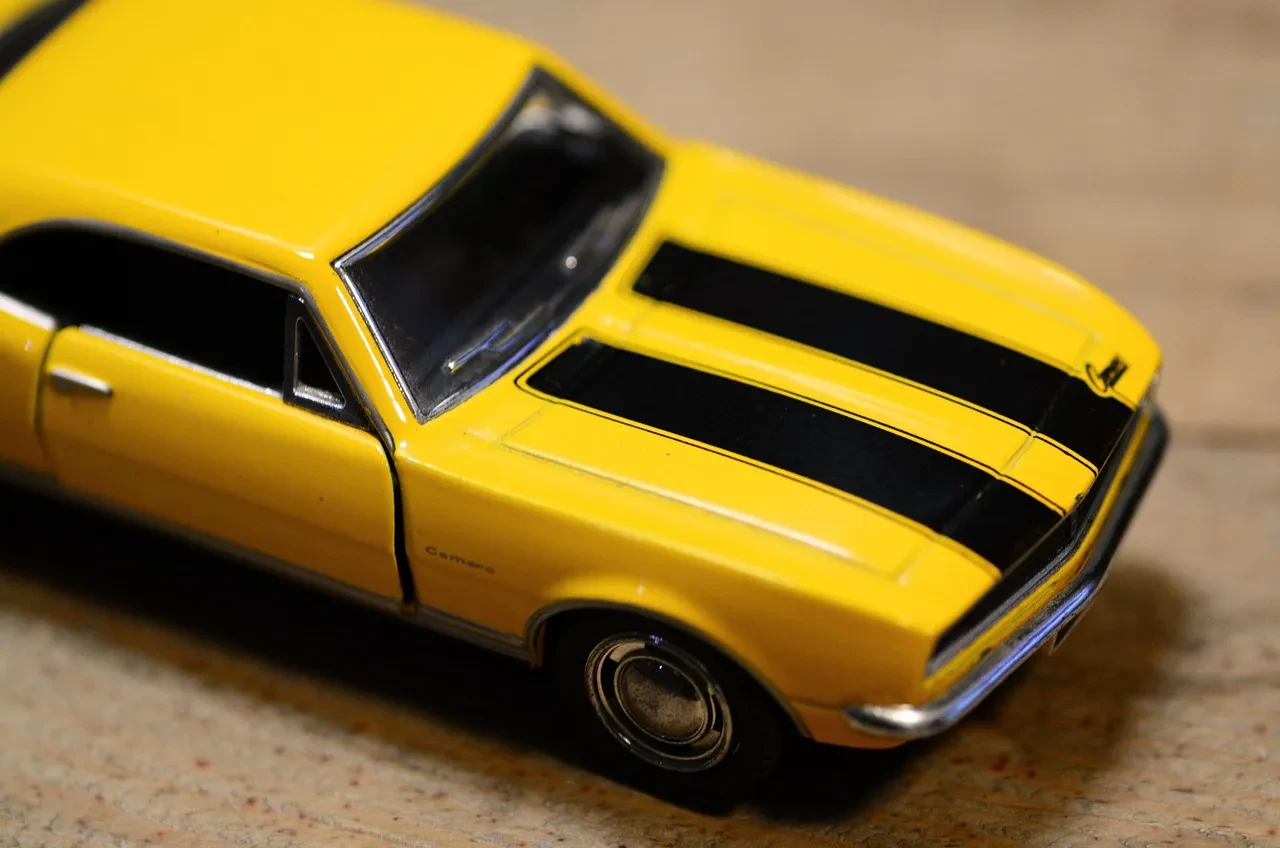
What exactly are diecast kits? Well, they’re essentially miniature versions of real-world vehicles, made from metal (usually zinc alloy) and often featuring incredible detail. Unlike plastic model kits, diecast kits are usually simpler, offering a faster and easier build experience. Many come ready to assemble, needing no painting or glue.
Types of Diecast Kits
The world of diecast kits is surprisingly diverse! You’ll find everything from simple snap-together cars for kids to more complex models that require tools and some skill. Some kits might need paint and glue for a truly professional finish.
- Snap-together kits: These are the easiest to assemble, perfect for beginners and younger builders. They typically involve pushing or snapping pieces together.
- Glue-required kits: Offering more intricate details, these kits require using glue to permanently bond parts together.
- Pre-painted kits: These kits come painted and are ready to display upon assembly, saving you time and effort.
- Unpainted kits: These give you the chance to customize your model’s look with your own paint job.
What you’ll need
The tools you’ll need depend on the complexity of your kit. Simple snap-together kits require nothing more than your hands. More involved models might call for some additional items.
- Hobby knife or scissors
- Glue (if needed)
- Paint and brushes (if needed)
- Tweezers or small pliers (for delicate parts)
- Small screwdriver (for some kits)
Building Your Diecast Kit
Always carefully read the instructions! This is crucial, even for simple kits. Take your time and work methodically. If you rush, you might damage parts.
Start with the main body and gradually assemble smaller parts. If using glue, apply it sparingly to avoid making a mess. Let it dry completely before handling.
For painted kits, masking tape can be helpful to protect areas you don’t want painted. Use thin coats of paint to avoid drips and allow for proper drying between layers.

Displaying your masterpiece
Once you’ve completed your build, you’ll want to show it off! Consider a display case or shelf to protect your model from dust and damage.
You can even add a little background to enhance your display! A small diorama, a piece of fabric, or a small backdrop can really make your model stand out.

Collecting diecast kits can be a rewarding hobby. As you build more kits, you’ll enhance your skills and develop a unique collection of miniature vehicles.
So grab a kit, follow the instructions, and have fun building! The sense of accomplishment you get once it’s finished is truly rewarding. Happy building!
