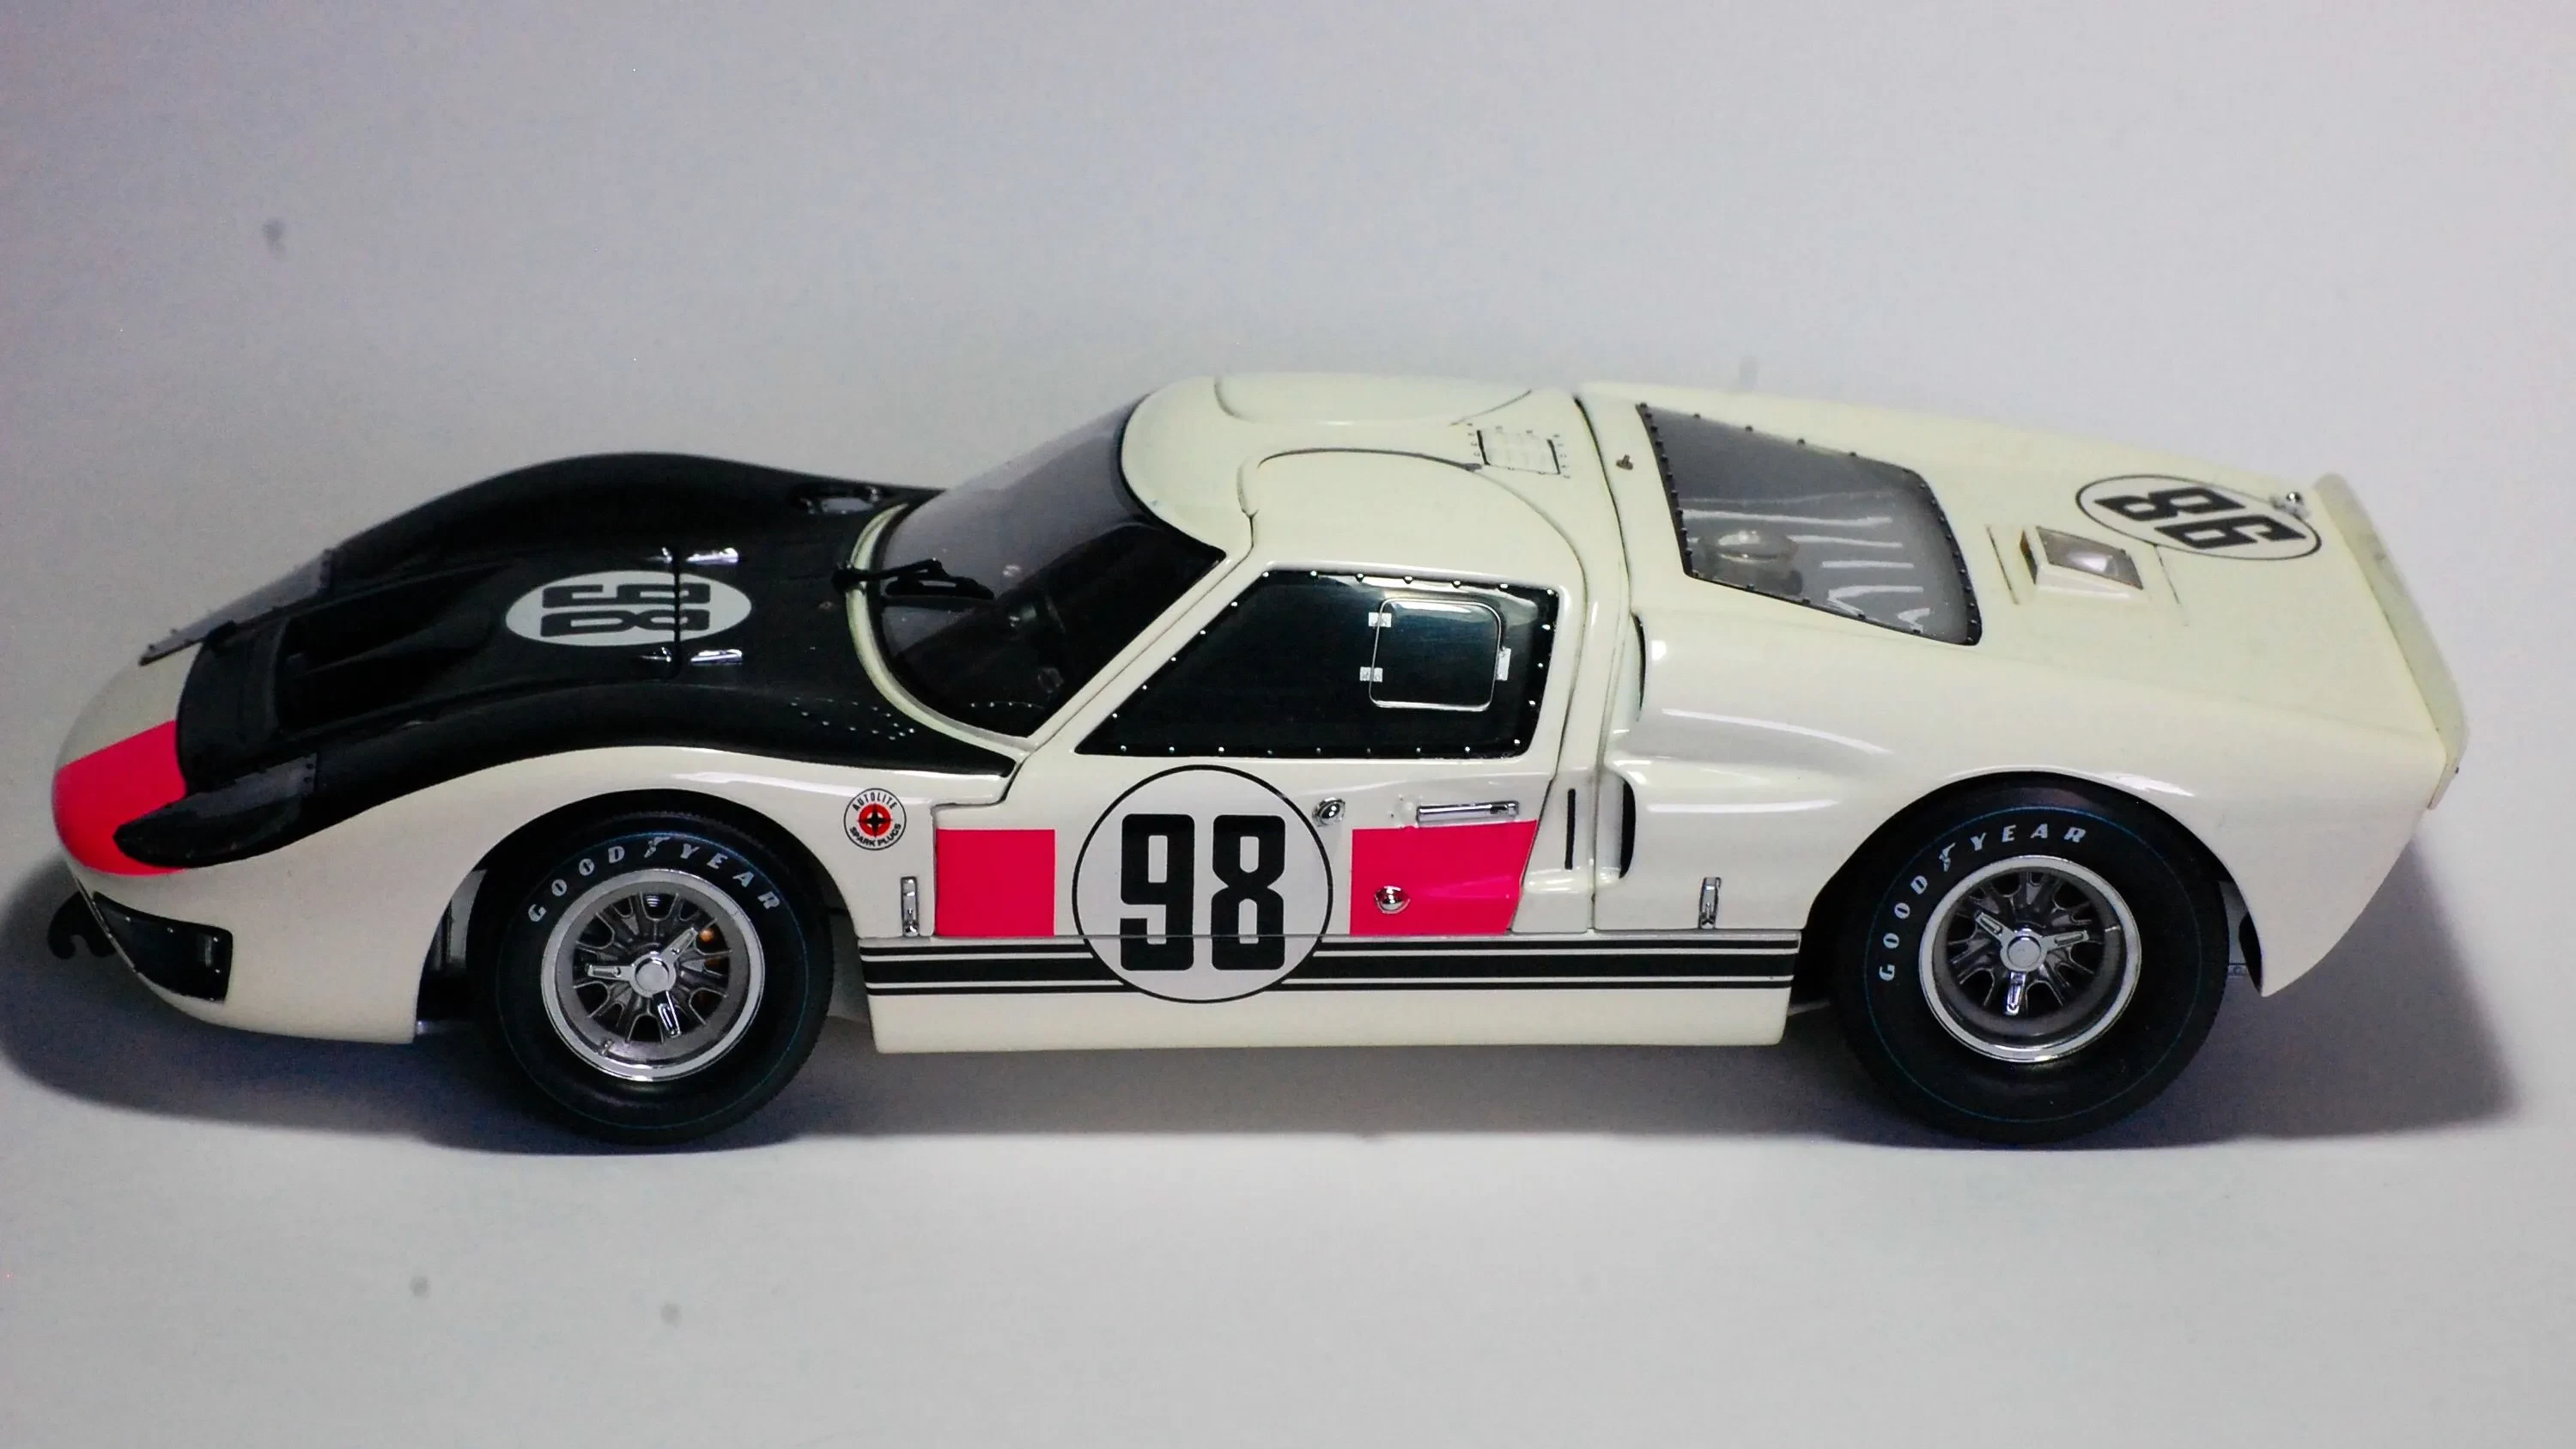
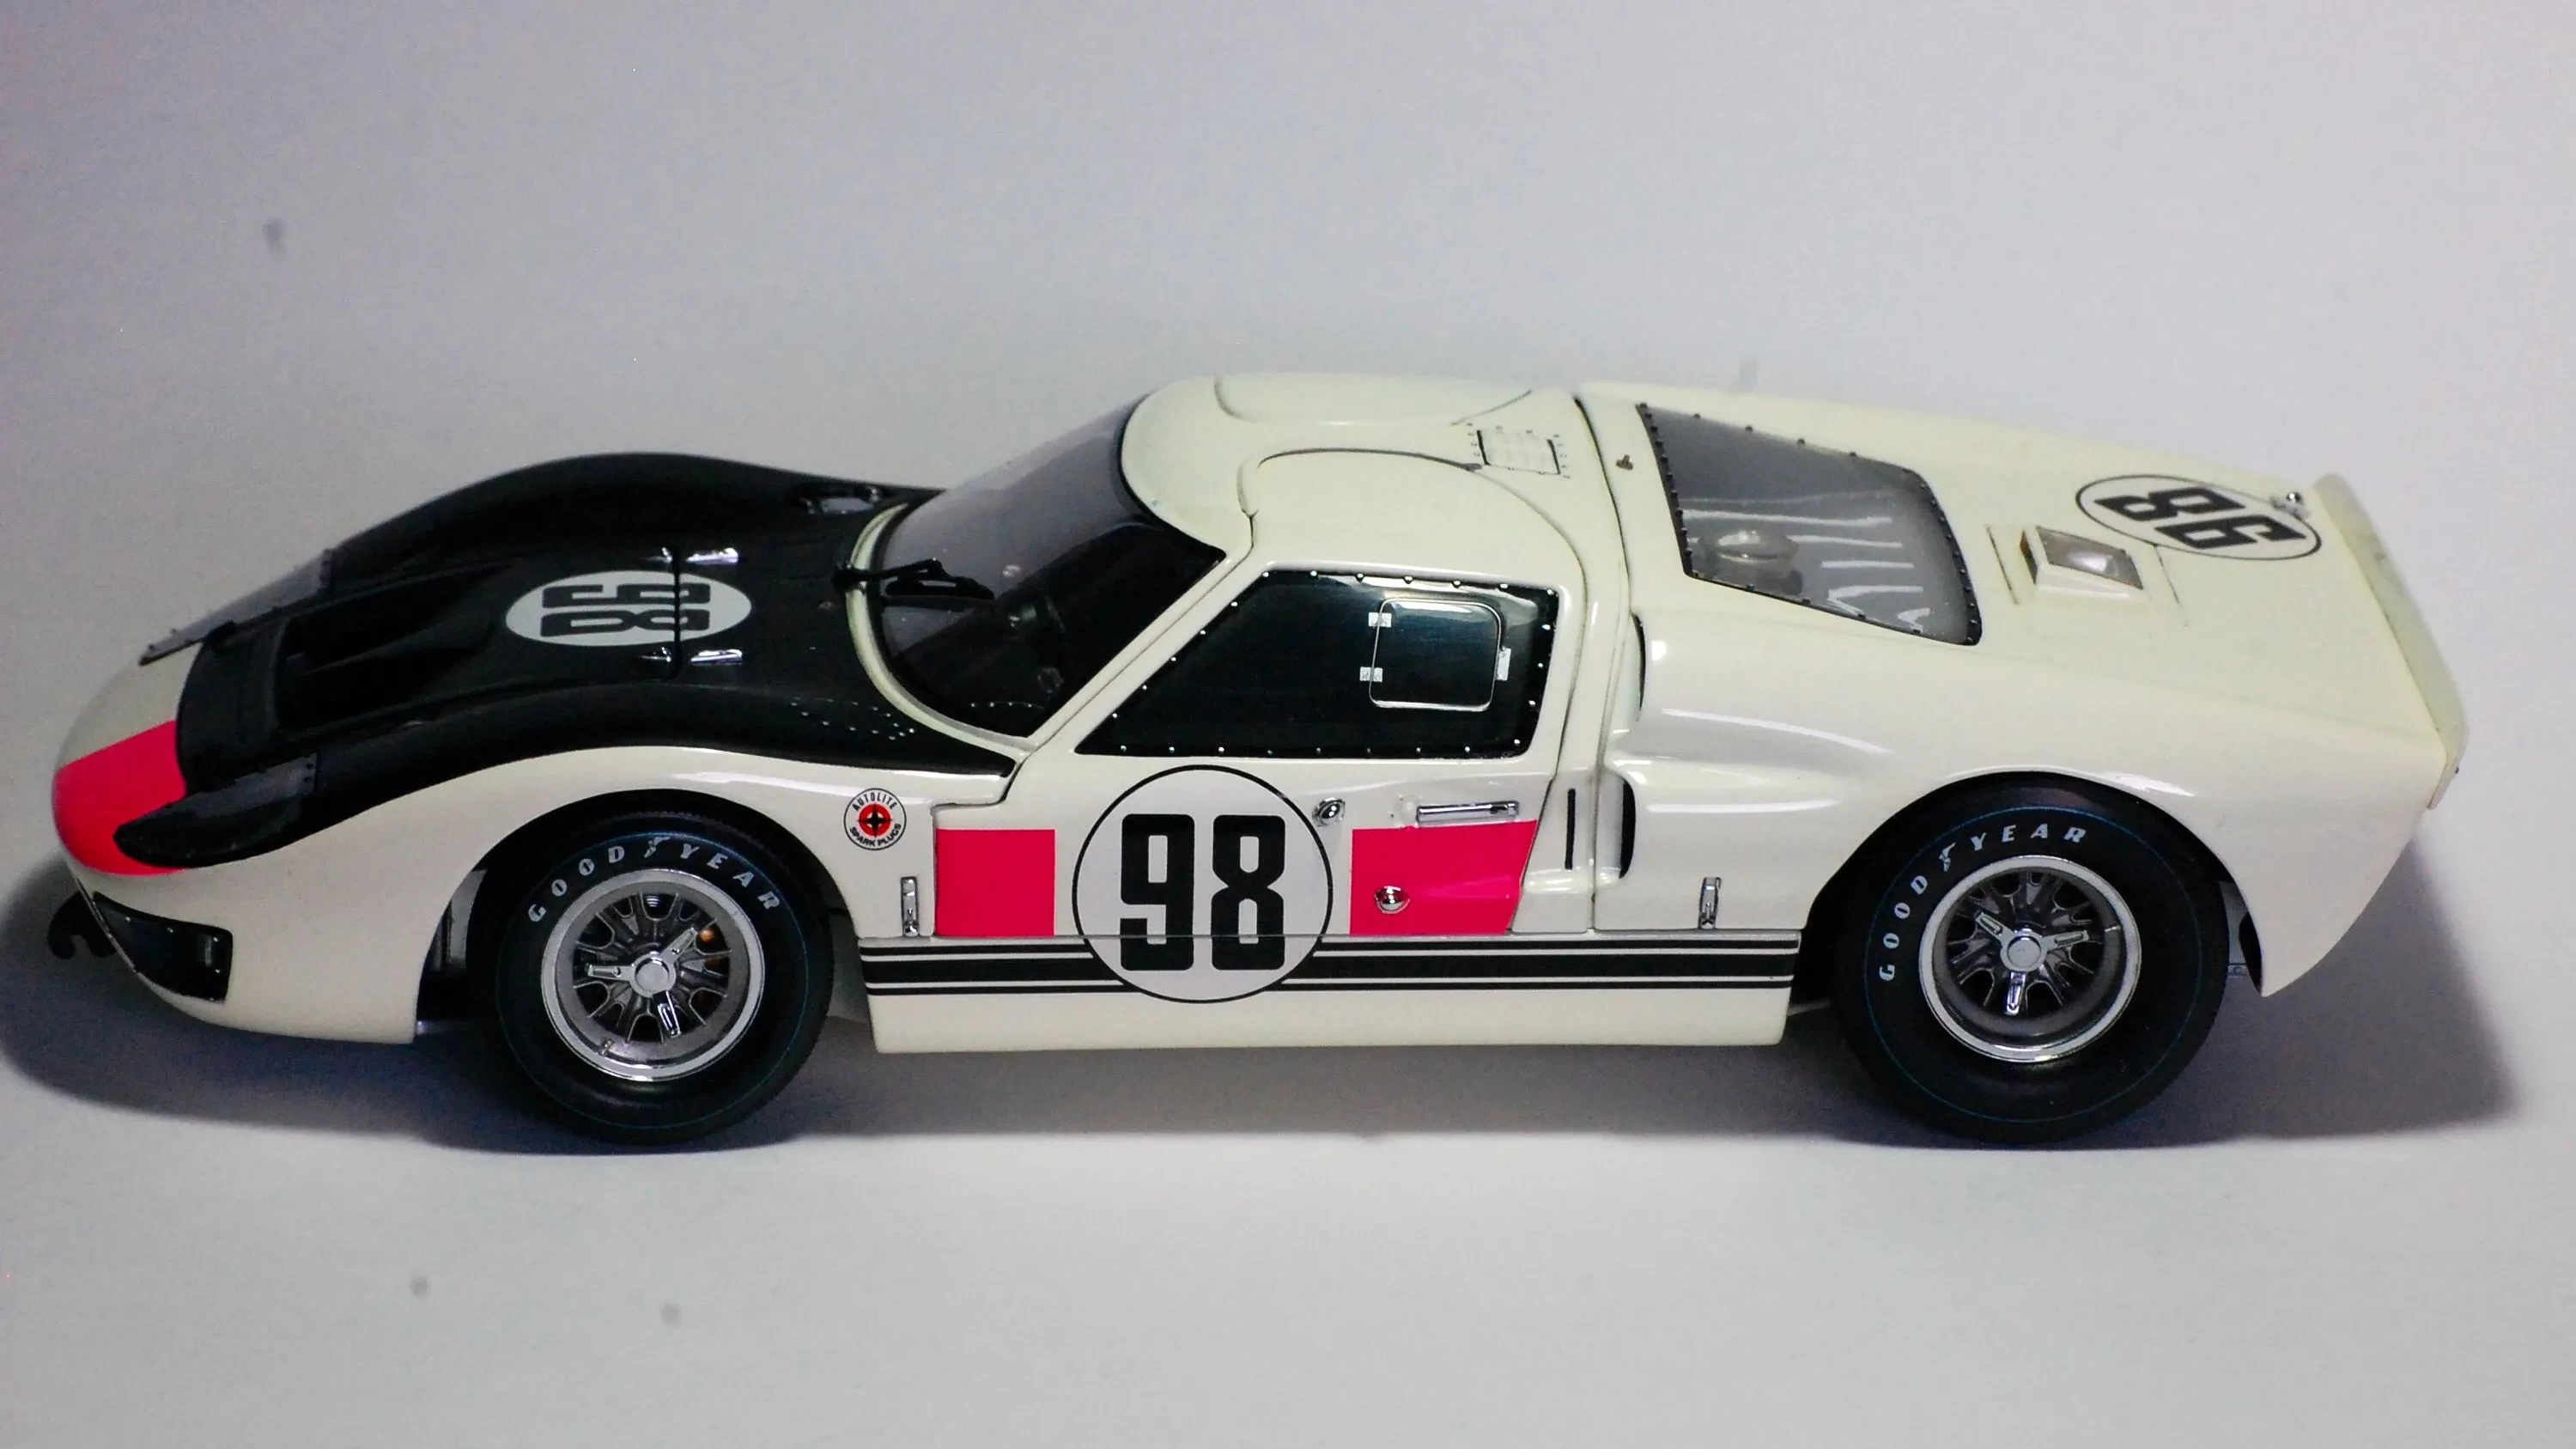
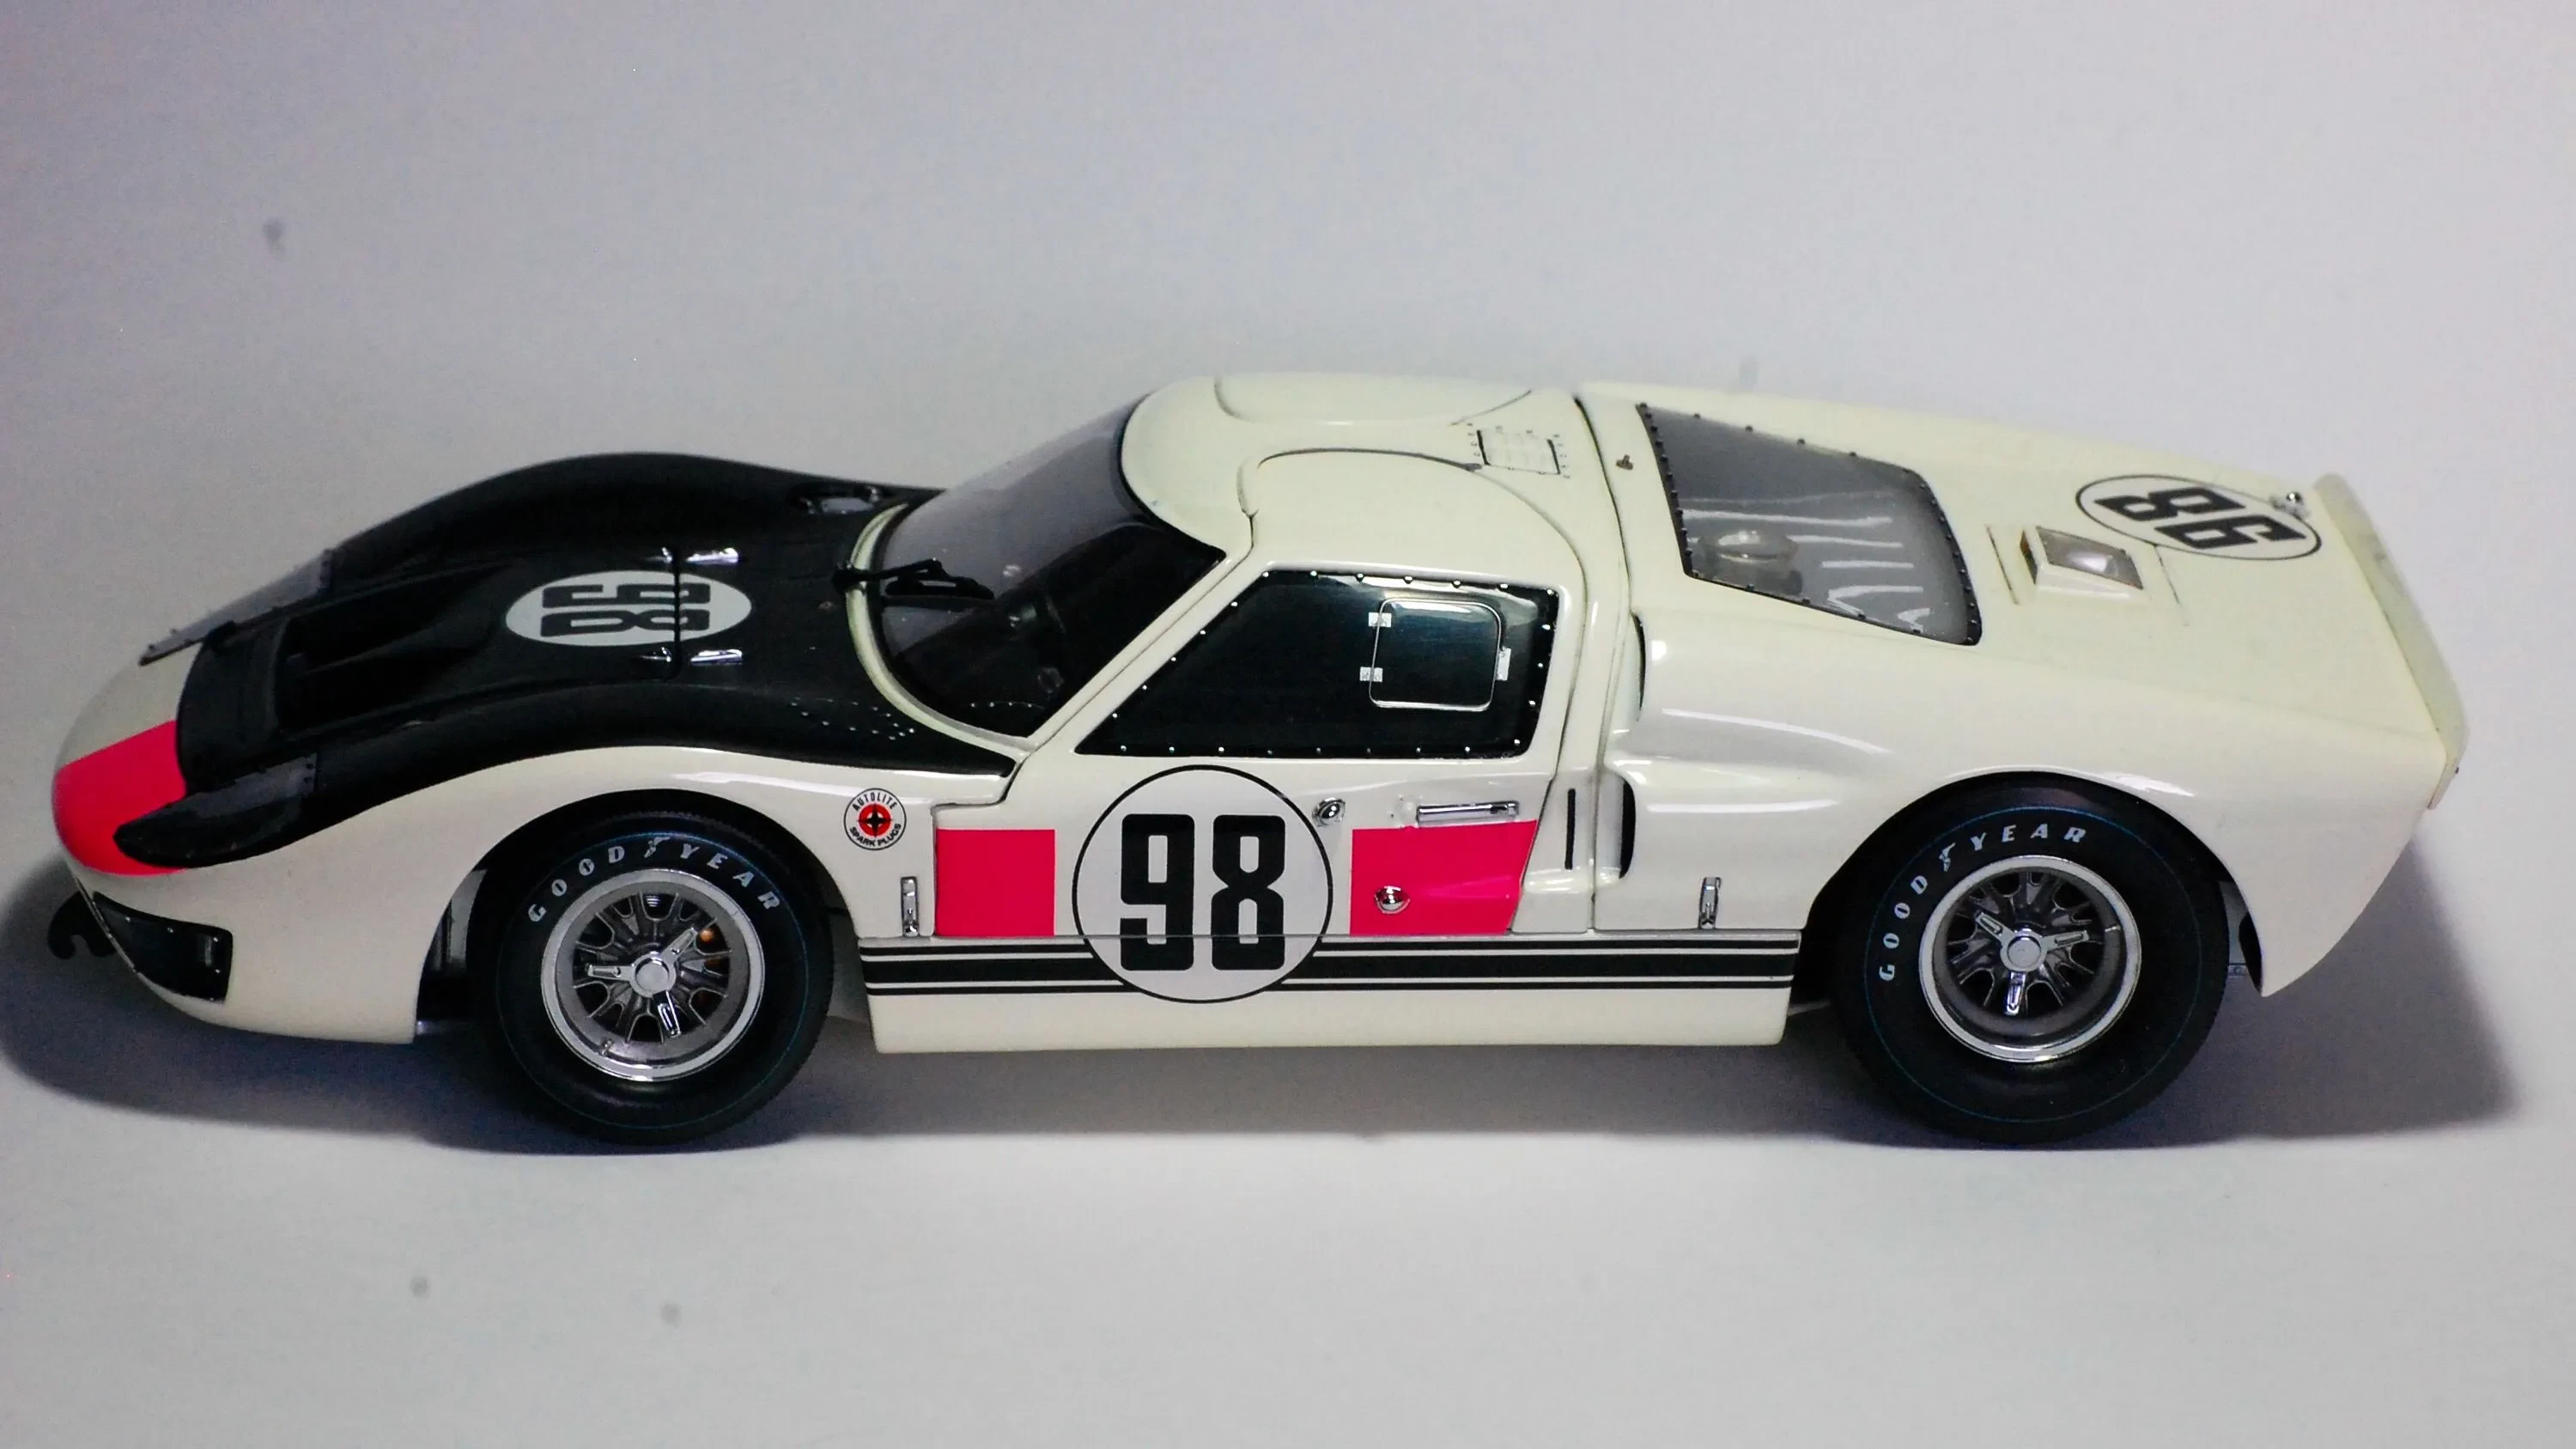
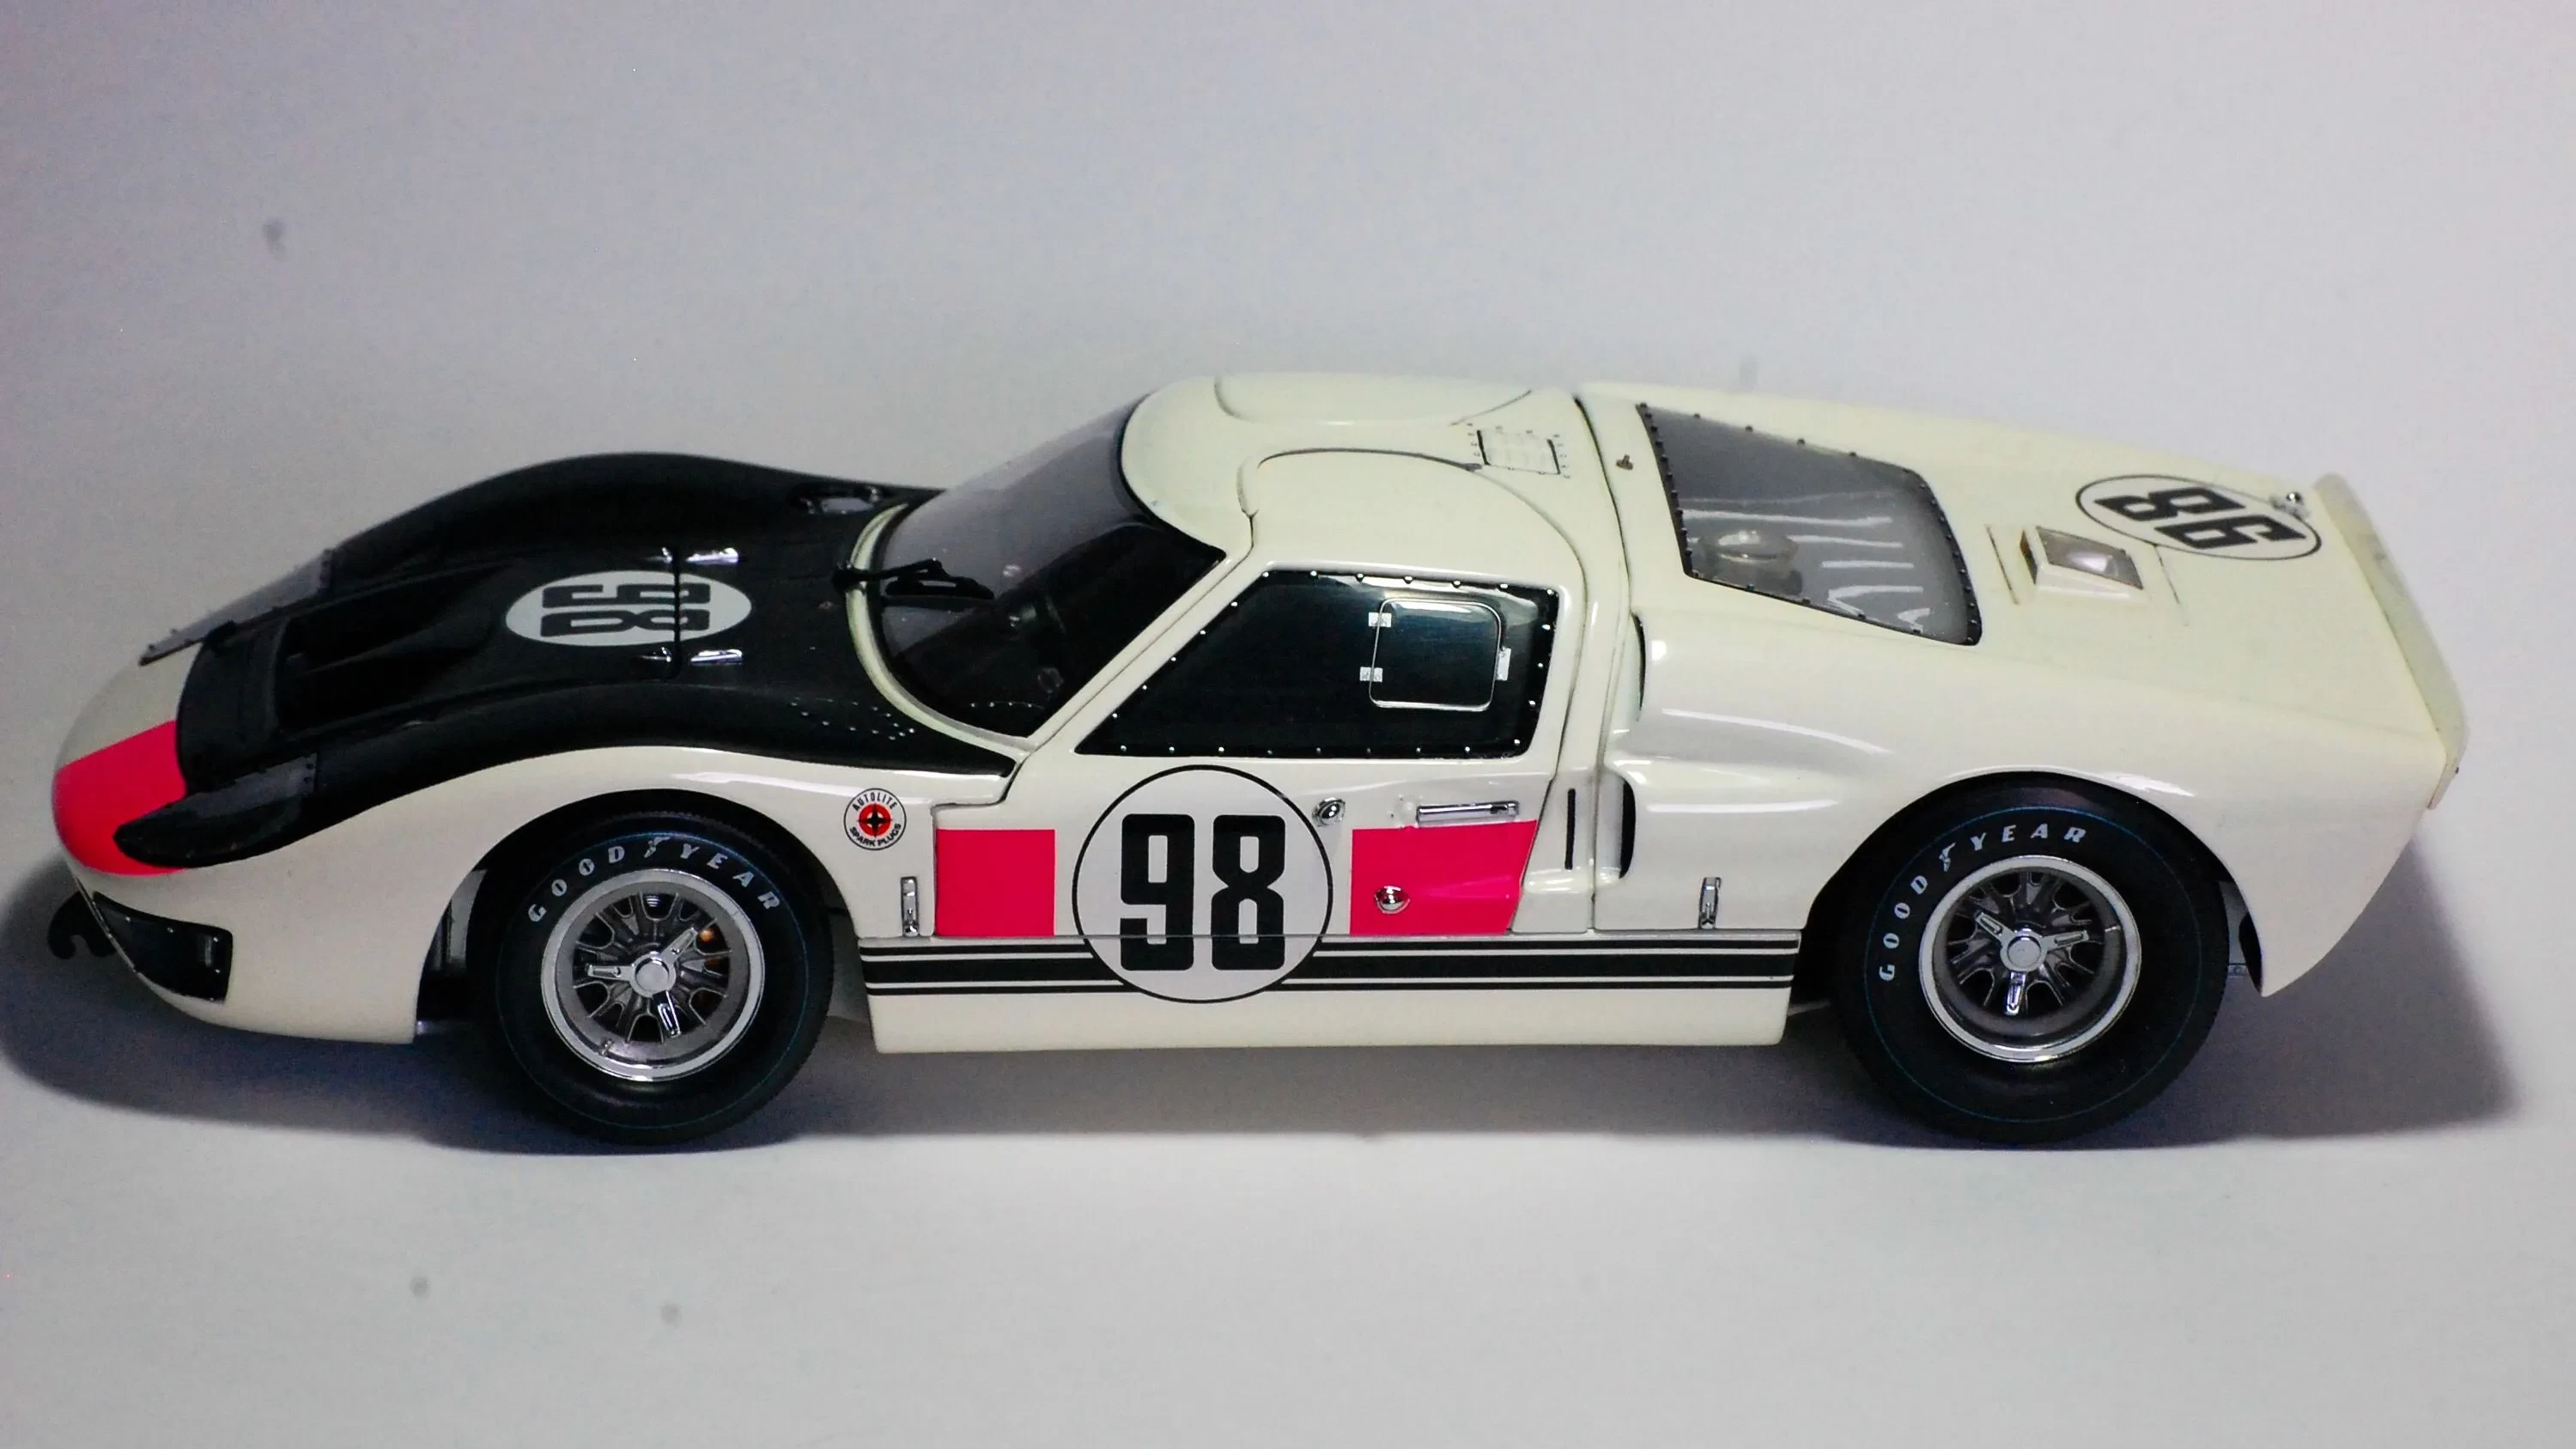
So, you’re thinking about building your own Ford GT40 diecast model, huh? Awesome! You’re in for a treat. It’s a rewarding hobby that combines a love for classic cars with the satisfaction of creating something tangible with your own hands. But where do you even start? Don’t worry, we’re here to guide you through the ins and outs of the Ford GT40 diecast kit world.

Why the Ford GT40? A Legend Reborn (in Miniature)
The Ford GT40 is more than just a car; it’s a symbol of American ingenuity and a middle finger to European racing dominance back in the 1960s. After Enzo Ferrari refused to sell to Ford, Henry Ford II vowed to beat Ferrari at Le Mans. And he did, four times in a row! That’s why the GT40 holds such a special place in automotive history and why building a diecast model of it is so appealing. You’re not just assembling a toy; you’re recreating a piece of history.
Beyond the historical significance, the GT40 is just plain cool. Its sleek, low-slung design is iconic, and its powerful V8 engine is music to any car enthusiast’s ears. Translating that beauty and power into a scale model is a challenge, but one that’s definitely worth taking on.
Choosing Your Kit The Options Available
The first thing you need to do is pick your kit. There are various manufacturers producing Ford GT40 diecast kits, each with its own pros and cons. Some popular brands include Kyosho, Revell, and Fujimi. These vary in scale, level of detail, and price. Let’s break down what to consider.
- Scale The most common scales are 1/12, 1/18, and 1/24. Smaller scales like 1/43 also exist, but those are usually pre-built.
- Level of Detail Some kits are highly detailed, with intricate engine bays, realistic interiors, and even working suspension. Others are simpler and focus more on ease of assembly.
- Material Most kits are primarily diecast metal, but some also include plastic, rubber, and photo-etched metal parts.
- Price Kits can range from relatively inexpensive to quite pricey, depending on the scale, detail, and brand. Consider your budget before diving in.
For beginners, a 1/24 scale kit from Revell might be a good starting point. They’re generally more affordable and easier to assemble. If you’re looking for something with a higher level of detail and a bigger wow factor, a 1/12 scale kit from Kyosho might be more your speed, but be prepared for a more complex build and a higher price tag.

Tools of the Trade What You’ll Need to Get Started
Before you tear into that box, make sure you have the right tools. Having the right equipment will make the building process smoother and more enjoyable.
- Sprue cutters Used to carefully remove parts from the plastic sprue.
- Hobby knife For cleaning up parts and removing excess plastic.
- Files and sandpaper For smoothing surfaces and removing imperfections.
- Glue Model cement is essential for bonding plastic parts together. Cyanoacrylate (CA) glue, also known as super glue, can be useful for certain applications.
- Paint and brushes If you want to customize your model or touch up imperfections, you’ll need appropriate paints and brushes. Enamel or acrylic paints are commonly used.
- Tweezers For handling small parts and applying decals.
- Masking tape For masking off areas when painting.
- Paints & Primer (Optional, but Highly Recommended) To give your model a professional finish.
- Decal Setting Solution (Micro Sol/Set) Helps decals conform to curved surfaces.
- Clear Coat (Optional) To protect your paint job and give it a glossy or matte finish.
Don’t skimp on the tools! Investing in quality tools will make a big difference in the final result. A dull hobby knife or a cheap brush will only lead to frustration.
The Build Process Step-by-Step (Simplified)
Okay, let’s get down to the nitty-gritty. Here’s a general overview of the build process. Remember to always refer to the instructions that come with your specific kit, as the steps may vary slightly.
- Read the instructions thoroughly Before you even think about cutting anything, read the instructions from cover to cover. This will give you a good understanding of the build sequence and any potential challenges.
- Prepare the parts Carefully remove the parts from the sprue using your sprue cutters. Clean up any excess plastic with your hobby knife and files. Be careful not to remove too much material.
- Assemble the chassis and interior Usually, the chassis and interior are assembled first. This may involve gluing together multiple parts. Make sure to align everything properly before the glue sets.
- Assemble the engine Many GT40 kits include a detailed engine. Take your time and follow the instructions carefully. This is where you can really show off your modeling skills.
- Paint the body Once the chassis, interior, and engine are assembled, you can start painting the body. Apply several thin coats of paint, allowing each coat to dry completely before applying the next.
- Apply decals Decals can add a lot of detail to your model. Use decal setting solution to help them conform to curved surfaces.
- Assemble the body and chassis Carefully attach the body to the chassis. This is often the trickiest part of the build, so take your time and be patient.
- Add the finishing touches Install the wheels, tires, and other small details. Stand back and admire your work!

Building a diecast model takes time and patience. Don’t rush the process. If you get frustrated, take a break and come back to it later. The key is to enjoy the journey and learn from your mistakes. Remember, even experienced modelers make mistakes!
Tips and Tricks for a Stellar Build
Want to take your build to the next level? Here are a few tips and tricks to help you achieve a professional-looking result.
- Test fit everything before gluing Always test fit parts together before applying glue. This will help you identify any potential problems and ensure that everything fits properly.
- Use thin coats of paint Applying multiple thin coats of paint is better than applying one thick coat. Thin coats dry faster and are less likely to run or sag.
- Mask carefully Masking is essential for achieving clean lines when painting. Use high-quality masking tape and make sure it’s firmly adhered to the surface.
- Use references Look at photos of the real Ford GT40 for reference. This will help you get the details right.
- Join a modeling community There are many online forums and communities dedicated to model building. These are great places to ask questions, share tips, and get inspiration.
Experiment with weathering techniques to add realism to your model. Weathering can include adding dirt, grime, and rust to simulate wear and tear. There are many different weathering techniques you can try, such as dry brushing, washes, and pigments.
Consider adding aftermarket parts to enhance your model. Aftermarket parts can include things like photo-etched details, resin parts, and metal suspension components. These parts can add a lot of realism and detail to your model, but they can also be quite expensive.
The Joy of Completion It’s More Than Just a Model
Once you’ve finished building your Ford GT40 diecast model, take a moment to appreciate your work. You’ve created something special. Display it proudly on your shelf and share it with your friends and family. Building a diecast model is more than just a hobby; it’s a way to connect with automotive history and express your creativity.
Building a 2024 Ford GT40 diecast model kit can be a really fun and satisfying experience. So grab a kit, gather your tools, and get ready to embark on a miniature adventure. You might just surprise yourself with what you can create!
And hey, don’t be afraid to make mistakes! They’re part of the learning process. The important thing is to have fun and enjoy the ride. Happy modeling!
